
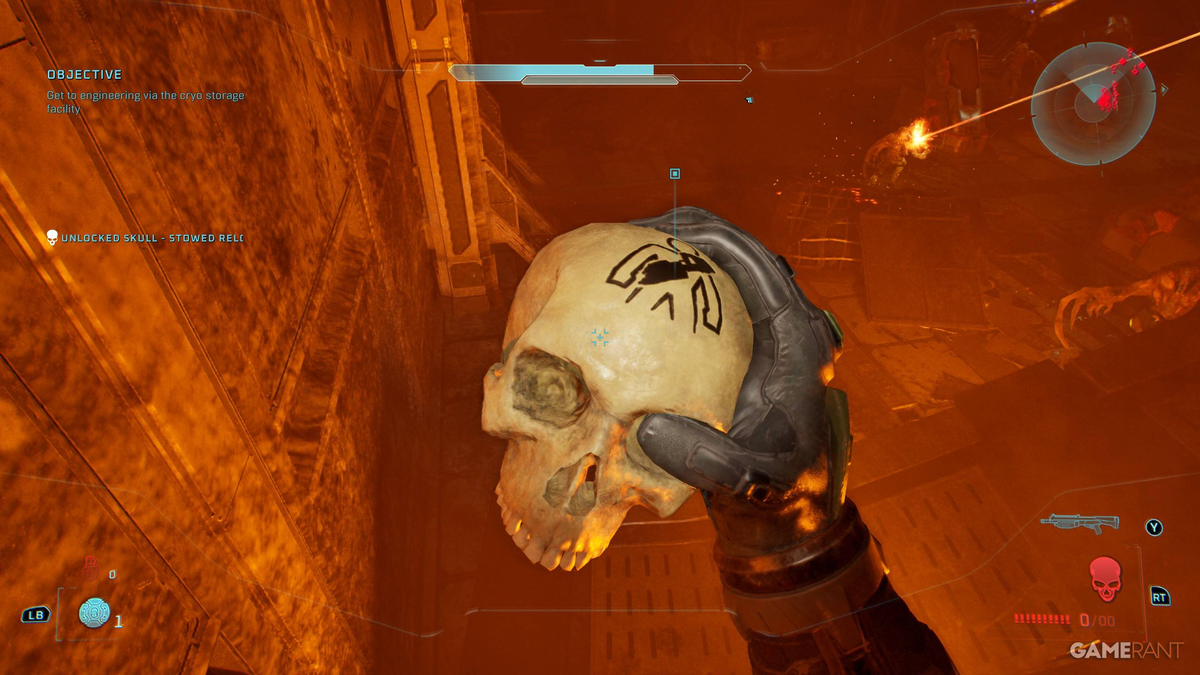
The final mission of Halo Campaign Evolved, The Maw, saves its best collectibles for last. Three skulls and one terminal wait along the escape route from the Pillar of Autumn, and grabbing them all means backtracking through Flood-infested corridors, timing a jump across a reactor core, and hunting in a side room while the ship tears itself apart around you. Here's every collectible in the order you'll encounter them, complete with what each skull actually does for your playlist.
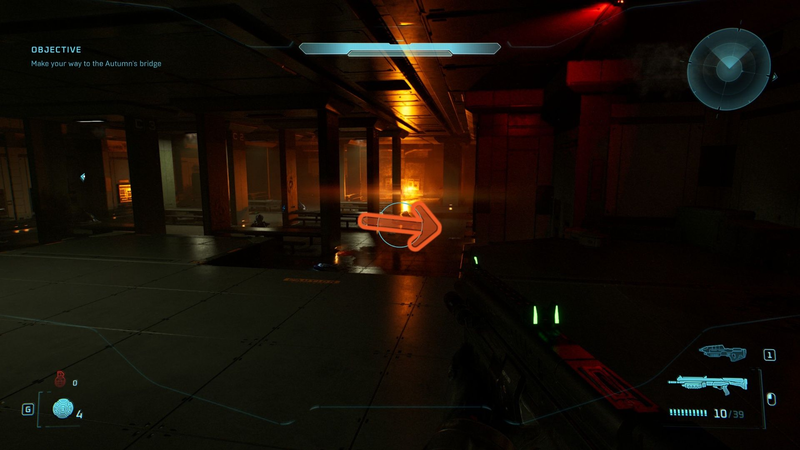
Terminal #1: Arrival
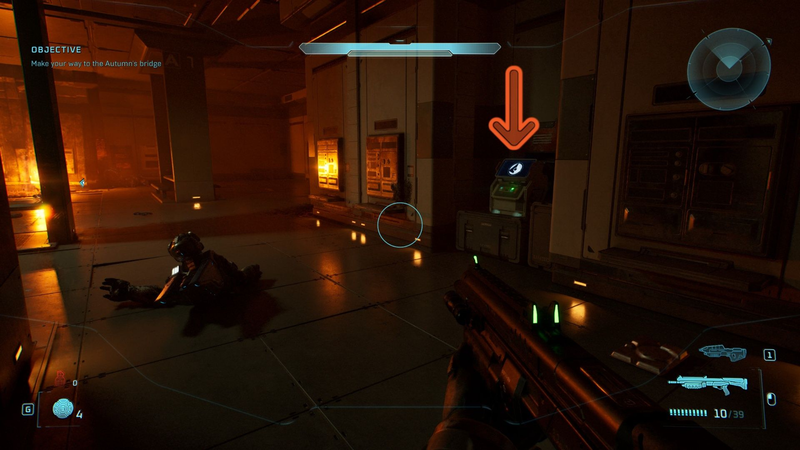
The first collectible appears early, during the "Reach Autumn's Bridge" objective. After fighting through the ship's corridors, you'll enter the mess hall through its main doorway. Don't follow the objective marker straight ahead — hug the right wall immediately upon entering. The terminal sits against that wall, glowing and waiting. It's the Arrival terminal, logging the Autumn's final moments before Chief wakes up.
Terminals in Campaign Evolved fill in lore gaps about the Autumn's crash and Cortana's operations on Halo. This one's easy to miss if you're sprinting toward the bridge, but it's also the only terminal in the mission — grab it now or replay the whole level.
Skull #1: Stowed Reload
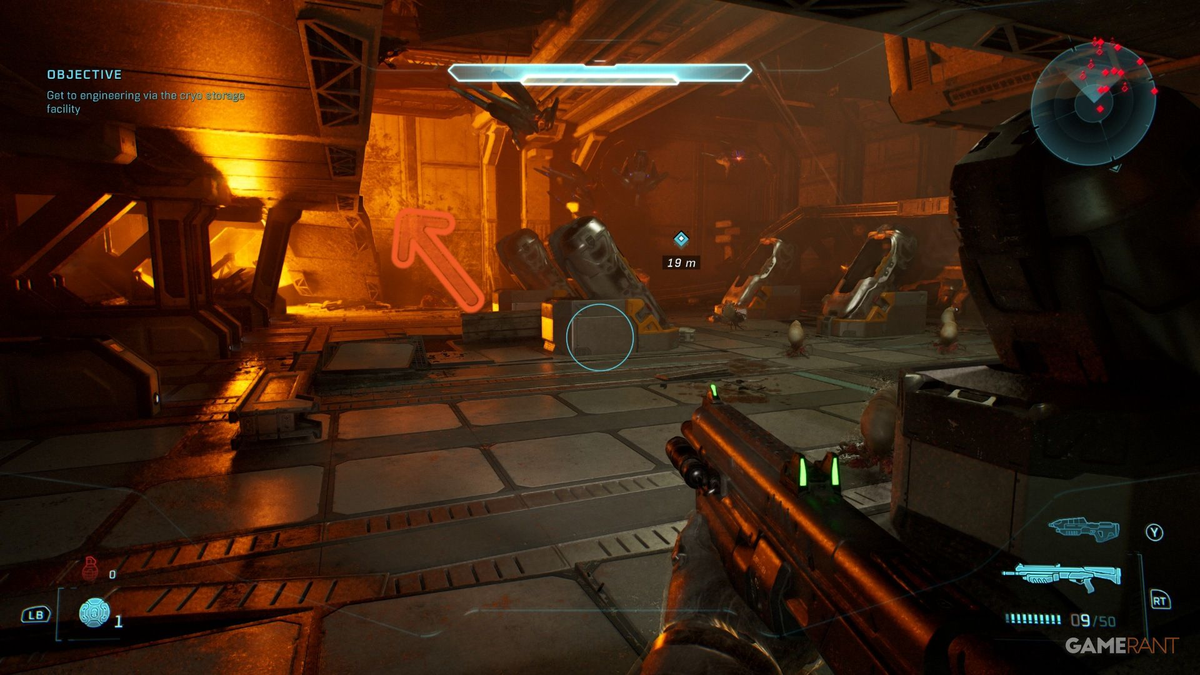
After the bridge cutscene ends, the objective shifts to "Reach Cryo Storage." Follow the linear path through corridors and elevator shafts until you reach a room with four cryo pods where Flood and Sentinels are duking it out. Clear the room or sprint past — either works. The skull sits in the back-lef
 t corner, perched above a destroyed catwalk. You'll need to jump up to the raised platform to snag it.
Effect: Weapons reload while stowed. This is a quality-of-life skull that shines on Legendary — swap to your plasma pistol, let your assault rifle reload in the background, swap back. No more staring at reload animations mid-fight. It stacks with the "Reload Master" upgrade if you're running that, effectively eliminating downtime on ballistic weapons.
Skull #2: Boom
Push forward to the "Expose and Destroy the Four Cores" objective. The reactor room spans multiple floors connected by ramps. From the entry point, head right up the ramp to Floor 2, then continue upward to Floor 3. You'll spot a platform with two interactable terminals — ignore them. Instead, look right of the "EXIT" door: there's a gap you can jump across into an open room.
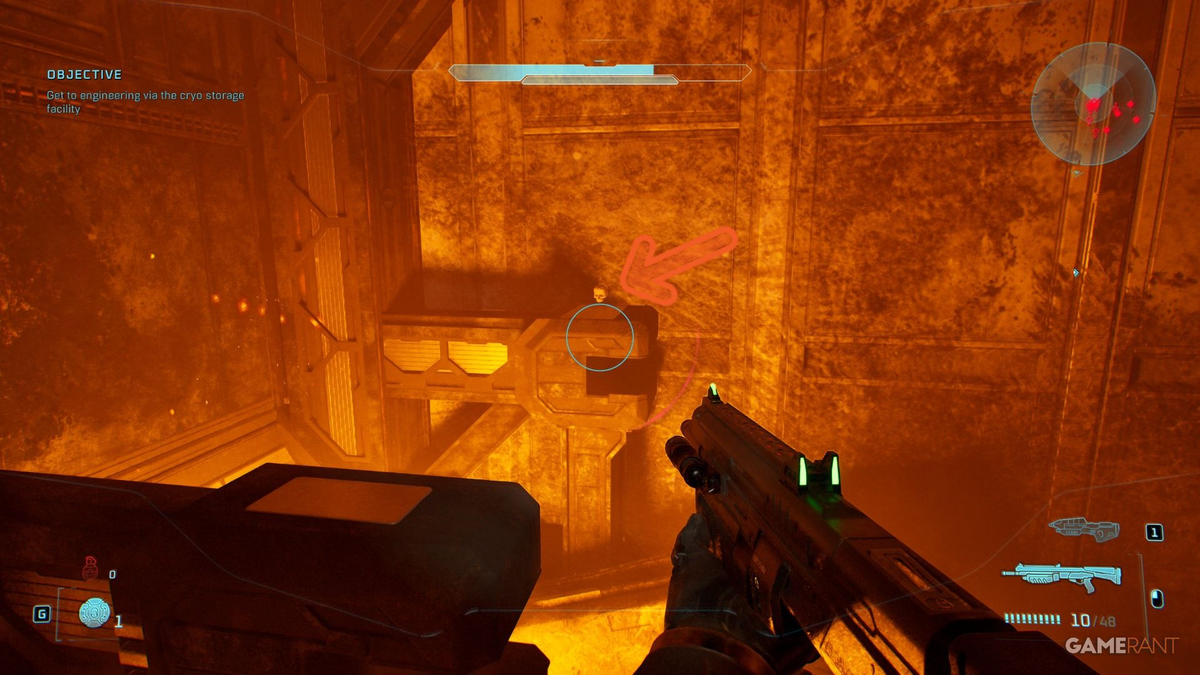
Land on the ledge, then look down at the surface you just jumped onto. The skull sits in a recessed gap along that ledge. Crouch and drop down carefully to collect it. The timing feels tight with Flood swarming, but the room geometry protects you from mos
 t angles while you crouch-grab.
Effect: Explosion radius increased by 2x. Frag grenades, rockets, fuel rod shots, plasma grenades — everything goes twice as far. This turns crowd control into crowd deletion on Legendary, especially against Flood clusters. Pair it with the Bandana skull for infinite grenades and you'll clear rooms before stepping inside. Just watch your own splash damage; the doubled radius works both ways.
Skull #3: Thunderstorm
After destroying all four cores, the escape sequence begins. "Escape the Pillar of Autumn" puts you in a Warthog. Drive through the markers until you hit underground tunnels. Watch the right wall for a drivable doorway — it's easy to blow past at full speed. Drive through, and immediately after, another door appears on the right. Brake, hop out, and walk to the center of this side room. The skull sits on the right side, plain as day.
Effect: Upgrades the rank of most enemies. Grunts become Ultras, Elites become Zealots, Jackals become Snipers. Health, shielding, accuracy, and aggression all scale up. T
 his is the "make Legendary actually legendary" skull. It also increases score multipliers significantly, so speedrunners and high-score chasers run it by default. For a first playthrough? Maybe leave it off unless you want Brutes with near-invincible shields chasing you through the escape tunnel.
Pro tip: Thunderstorm + Boom + Stowed Reload creates the classic "Mythic" loadout — max enemy difficulty, max explosive lethality, zero reload downtime. It's how the leaderboard times are set.
The Maw's collectibles reflect the mission itself: escalating tension, tighter timing, and a final reward that changes how the entire game plays. Stowed Reload is a convenience. Boom is a power fantasy. Thunderstorm is a difficulty spike that separates completionists from tourists. Grab all three, and you've earned the right to start a new playthrough with the deck stacked — whichever way you prefer.
Comments (0)
Loading comments…