
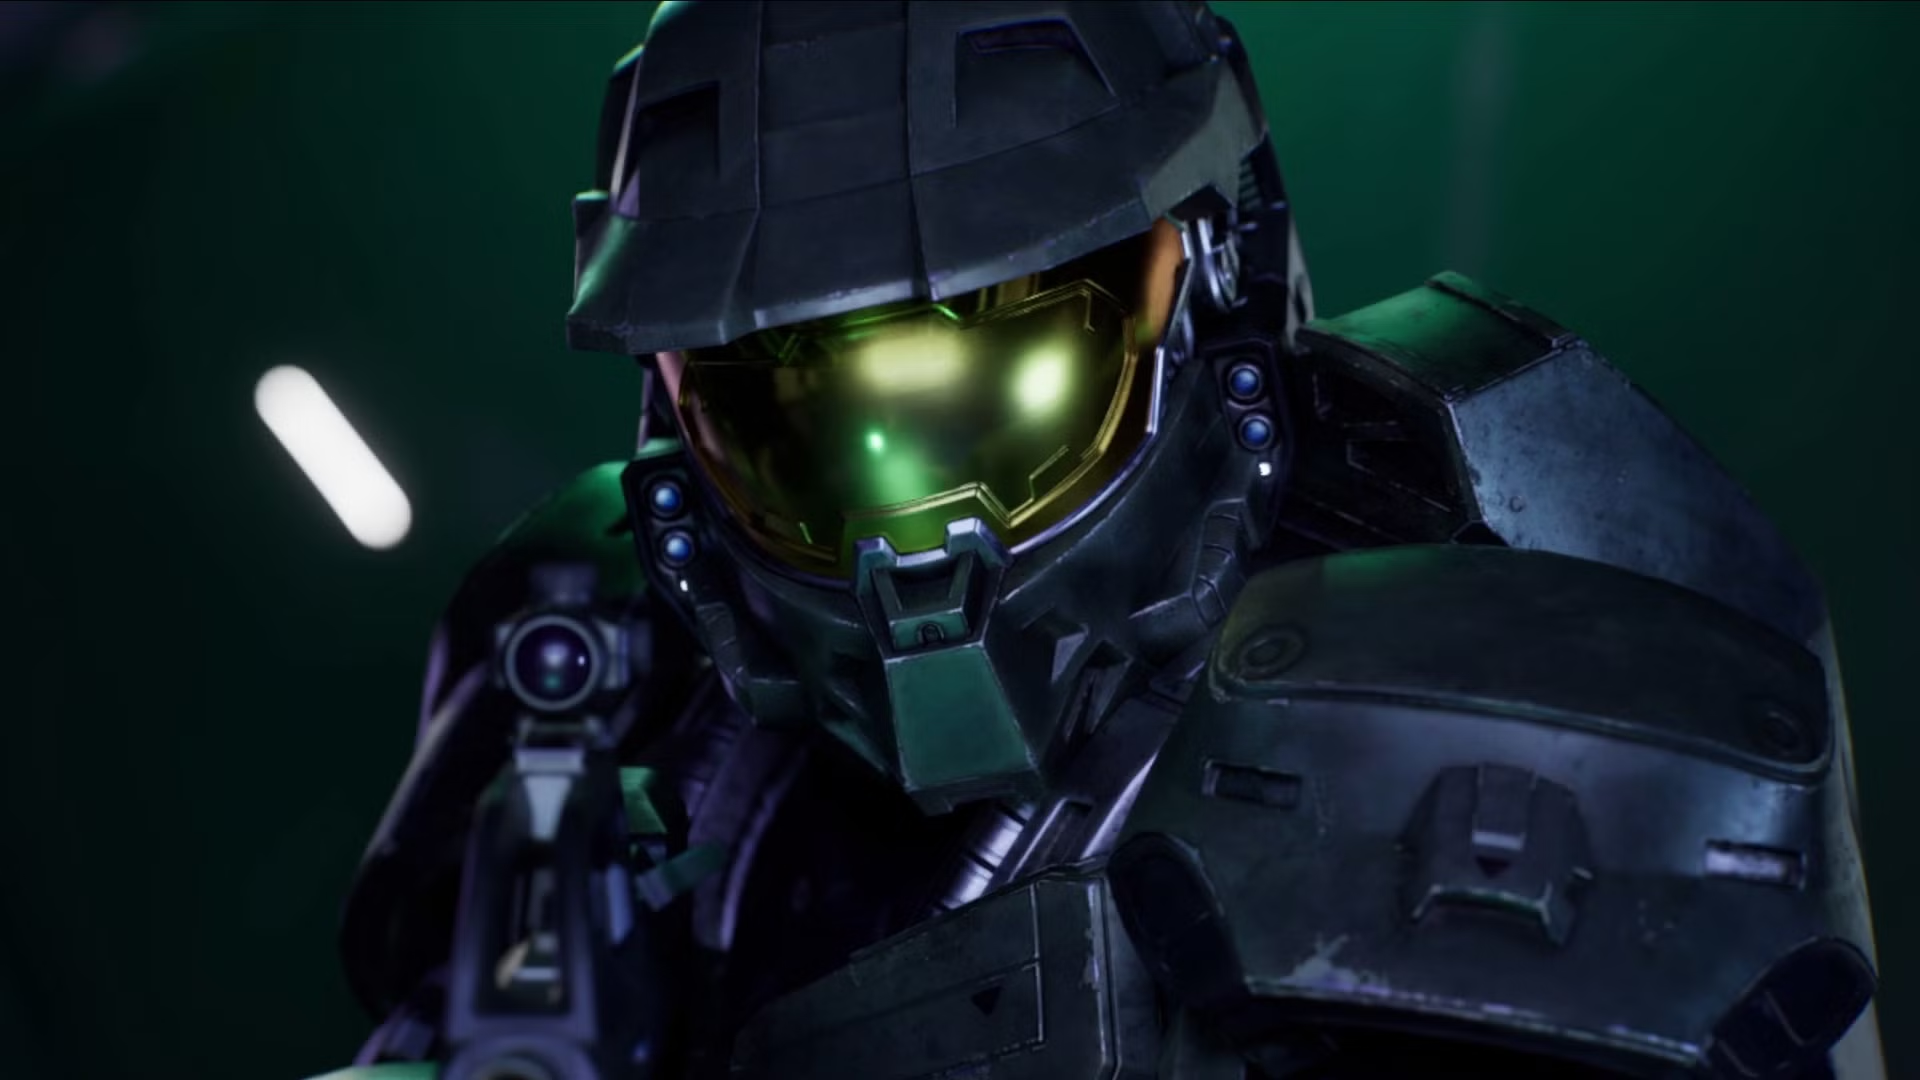
How to Beat Halo: Campaign Evolved’s First Bonus Mission
Quick answer: To beat Halo: Campaign Evolved’s first bonus mission, Boarding Action, prioritize high ground, grab the Beam Rifle and Brute Plasma Rifle, use sticky grenades on Mgalekgolo brutes, and let mind-controlled Jiralhanae fight each other when they become available.
Boarding Action is the first of Halo: Campaign Evolved’s bonus missions, and it plays like a compact tutorial for the game’s ship-clearing combat. Master Chief and Avery Johnson board a Covenant research ship a year before the main campaign, pushing through corridors, laboratories, and forcefield-separated rooms while looking for valuable intelligence.
The mission is not a maze so much as a sequence of escalating fights. It teaches you which enemies to fear, which weapons matter, and when rushing is smart versus when it gets you killed.
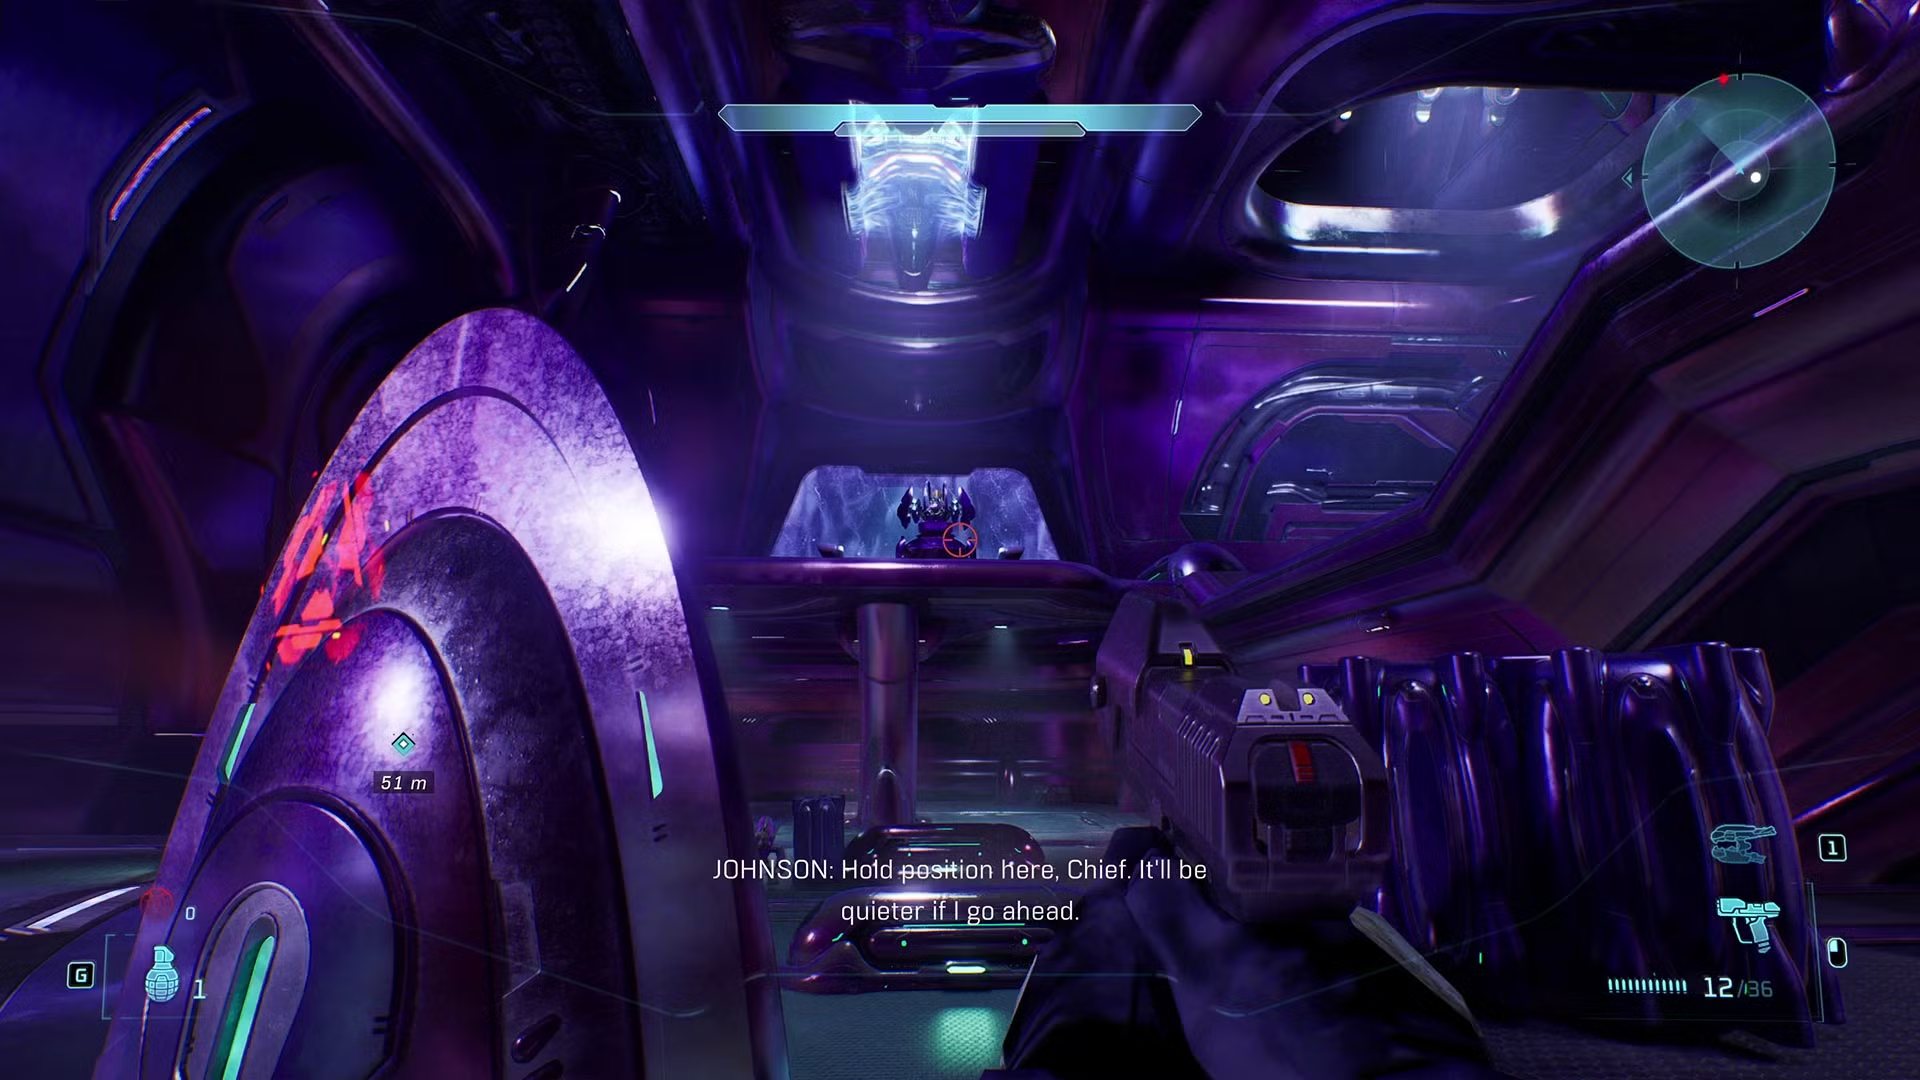
What Boarding Action Is and How to Beat It Fast
The mission’s main lesson is simple: the Covenant ship punishes careless rushing, but it also gives you plenty of ways to punish the Covenant in return. Early rooms are about clearing small groups and avoiding turrets, while later rooms are about weapon control, vertical positioning, and enemy redirection.
If you want the fastest path to success, keep a submachine gun for general clearing, save sticky grenades for the heavy brute-class Mgalekgolo, and use ranged weapons whenever Sangheili or Needle Rifle users appear. The mission gets much easier once you understand that every room has a “best angle” you should reach before the fight fully starts.
Quick Loadout and Mission Rules
- Best early weapon: an SMG for standard Grunts, shielded enemies, and hallway fights.
- Best elite counter: the Beam Rifle, especially against Sangheili in the open rooms.
- Best brute counter: sticky grenades, which take down Mgalekgolo quickly on normal difficulty.
- Best late-game pickup: the Fuel Rod Cannon, useful against brutes and Mgalekgolo near the final arena.
- Main tactic: take high ground, clear doorways before they open, and avoid standing on transporters when Jiralhanae are nearby.
Why Boarding Action Matters Before the Campaign
Halo has long leaned on tight interiors, hostile boarding actions, and sudden enemy appearances as a way to make large sci-fi battles feel personal. Boarding Action brings that tradition into Halo: Campaign Evolved’s co-op structure, where Johnson’s hacking and covering fire help, but Chief still has to read the room and make fast decisions.
This mission matters because it introduces the combat logic you will keep seeing: enemy reinforcements arrive through doors, heavy units need specific counters, and weapon pickups often decide whether a room feels tense or safe. It is a warm-up, but it is also a map of the game’s combat priorities.
First Contact: Clear the Nose, Grab Johnson, and Reach the Ramp
When you leave the ship, you will meet a handful of standard Grunts and shielded enemies. After the first wave, reinforcements arrive, usually including two shielded Kig-Yar and a Sangheili, so do not overcommit to the open area.
Head back toward the nose of the ship you arrived on, where Johnson will pop out with Sophie, his trusty shotgun. Follow him to the door up the staircase and let Johnson hack it open instead of trying to force the fight in the wrong place.
Once the door opens, you will enter a corridor with more Grunts and shielded enemies. The important thing here is the turret on the second floor. Take it out before pushing deeper, because it can cut through you while smaller enemies are still moving around.
The next room is blocked at first, but Johnson breaks away and drops the barrier. Another turret waits on the second floor, so prioritize that before cleaning up the smaller enemies. The heavier tr
After that, move to the second floor where a Covenant ship is taking off. Human weapons are available to the left if you want an SMG or shotgun, but the smarter move is usually to keep moving while Johnson provides covering fire. Continue through the next hallway and up the ramp until you reunite with Johnson.
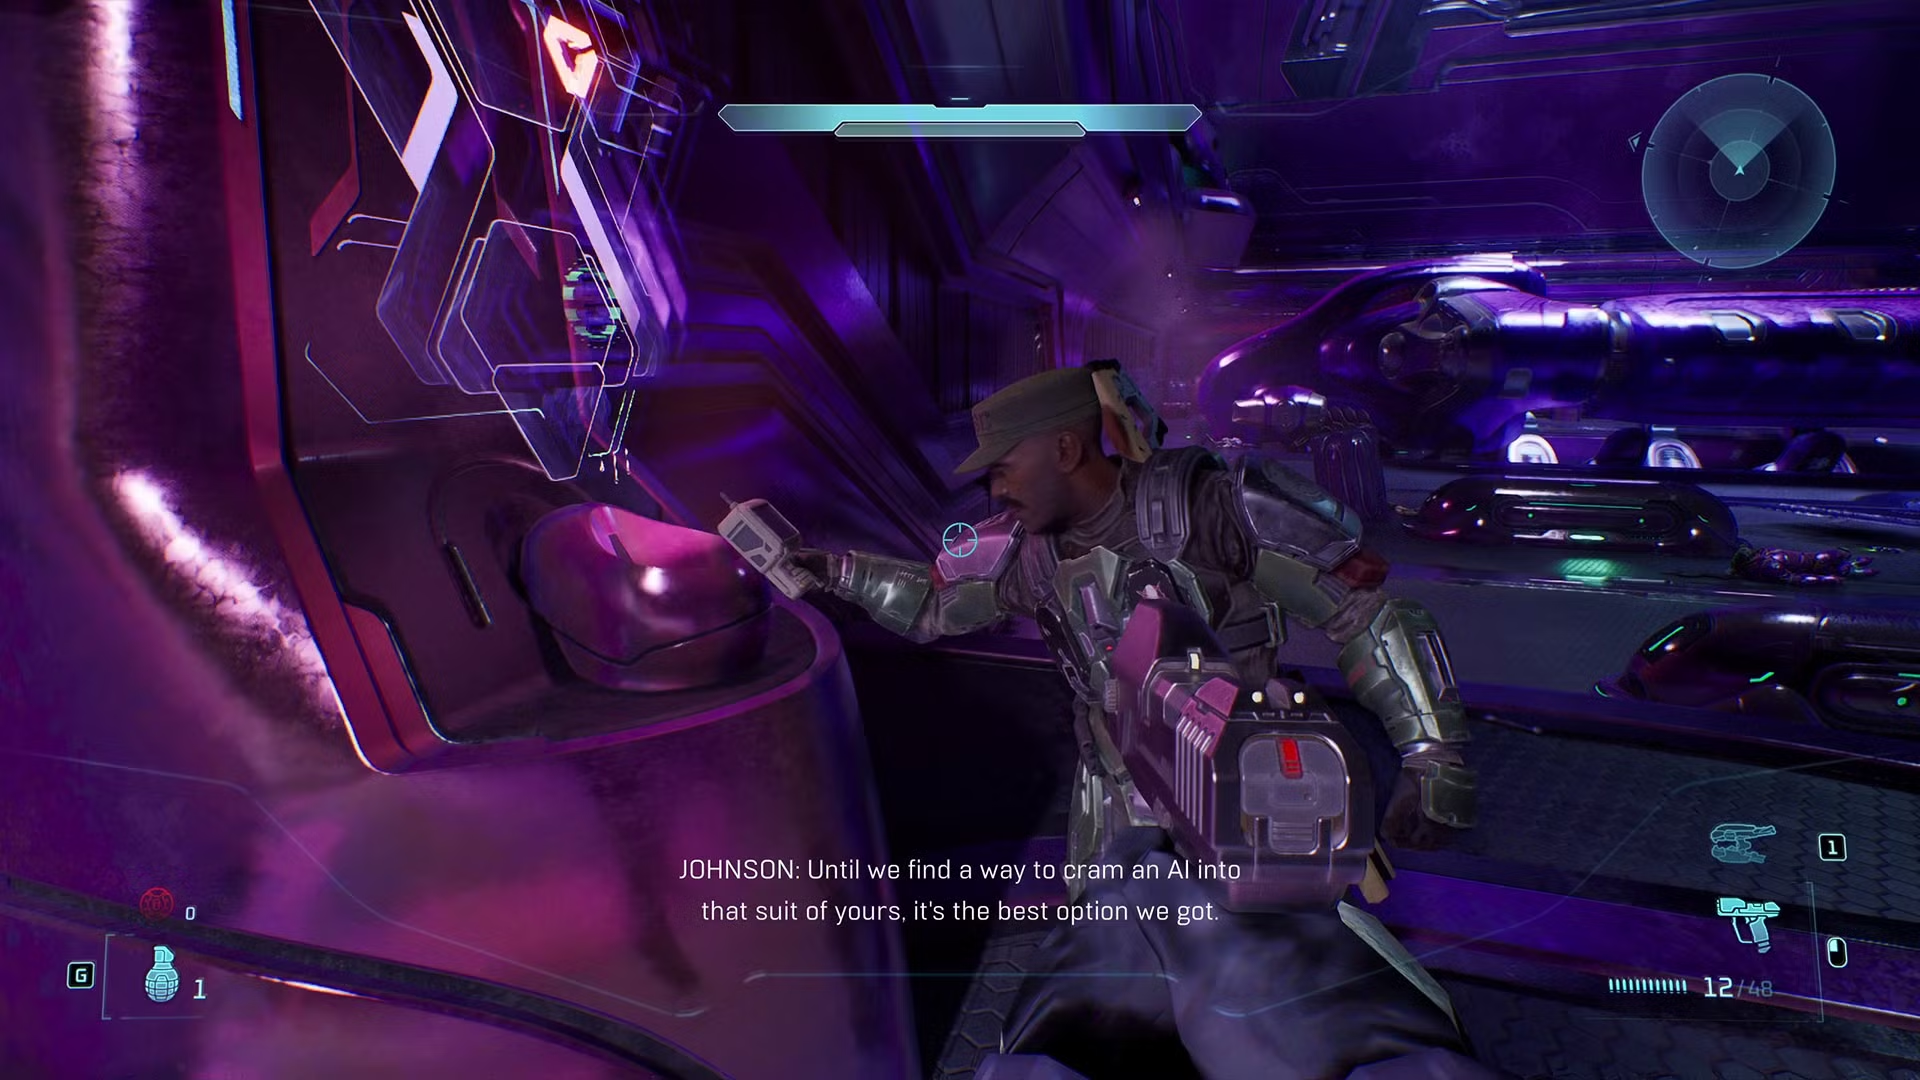
You will then face two Mgalekgolo brutes, the heavy grappling enemies that can punish you if you stay too close. Sticky grenades are the cleanest answer, and on normal difficulty it only takes two to bring them down. After that, Johnson hacks the next terminal, opening the transporter path to the next level.
Change of Plans: Take High Ground and Snipe the Sangheili
This section starts with you overlooking enemies through a forcefield while being separated from Johnson. He takes the high ground, which means you need to take yours too. Rushing the low floor puts you in a bad position against the first Sangheili and the smaller enemies around them.
Use the transporter on the right, then climb as fast as possible in the next room. Two powerful Sangheili start on the first floor with little cover, so reaching the upper area makes the fight much more manageable. Once you have height, the smaller enemies become the easier cleanup job.
When you enter the open room on the second floor, grab the Brute Plasma Rifle and Beam Rifle from the walls. Those pickups are not just loot; they are the mission’s first real answer to elite-heavy combat. The Brute Plasma Rifle handles close and mid-range pressure, while the Beam Rifle lets you punish Sangheili quickly.
Step back out through the doors and expect more Sangheili to appear from the next set of doors. This is where the Beam Rifle earns its keep. From distance, you can drop them in seconds instead of letting them close the gap.
The next closed door opens onto two more Sangheili, which your current arsenal should handle quickly. If you are struggling here, it usually means you skipped the high ground or wandered into the first floor with no cover.
Forge Reconnaissance: Use the Experimentation Rooms as Cover
The Forge Reconnaissance section opens with a wide selection of human weapons, including sniper rifles and rocket launchers. The best practical choice is still at least an SMG, because you will need something reliable for close hallway fights. If enemies nearby are carrying Needle Rifles, take one too.
Clear the sleeping Grunts before moving into the experimentation room. This is one of those moments where patience pays off, because waking everything up at once turns a simple hallway push into a crowded firefight.
The next hallway contains two Needle Rifle Sangheili, followed by another open room with more sleeping Grunts. When the opposite door opens, a large wave of enemies will pour in. Hold your ground away from the doorway, clear the closest threats, then move forward before the room becomes impossible to control.
After the cutscene, keep moving. This chapter is short, but it reinforces the same rule as the previous section: do not let enemy numbers define the fight. Pick a lane, use cover, and let Johnson and your weapons do the rest.
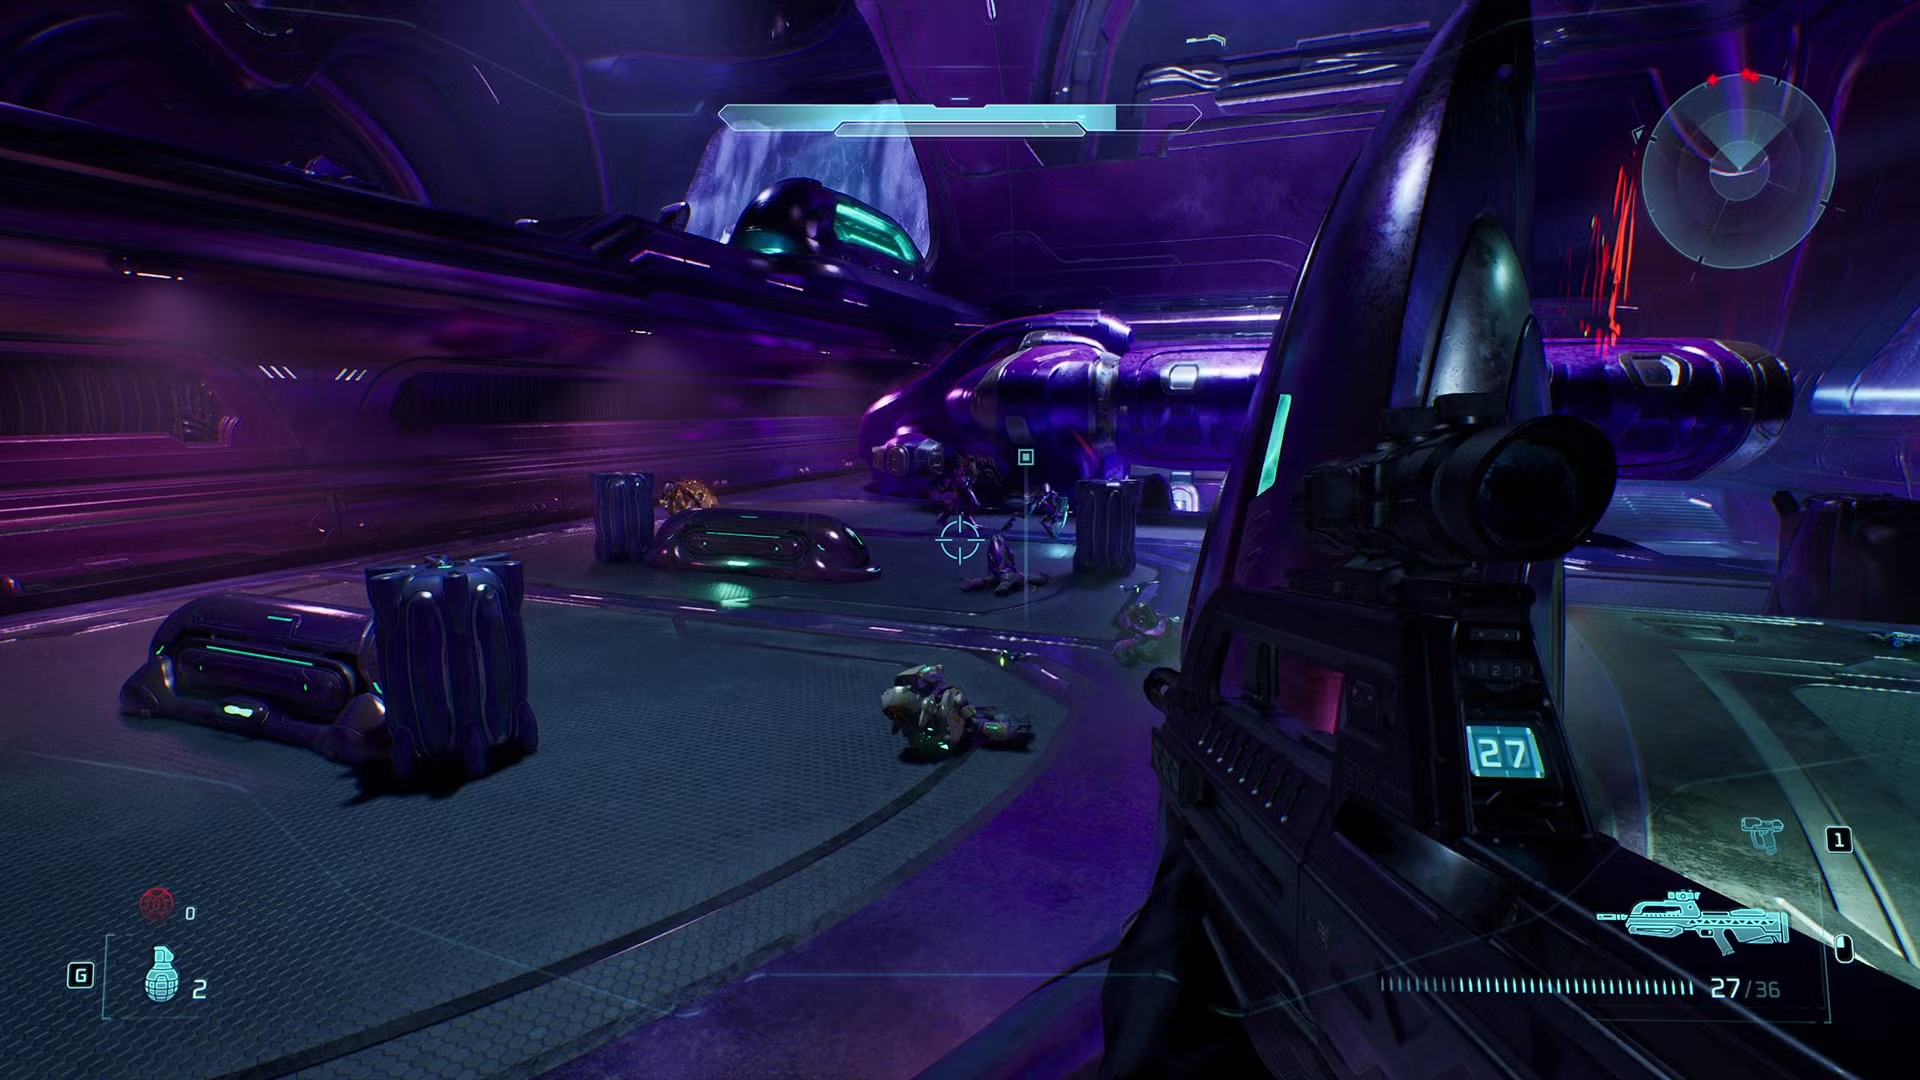
A Brute Awakening: Turn Mind-Controlled Jiralhanae Against Each Other
This is the section where the mission introduces mind-controlled Jiralhanae, or brutes. During the cutscene, it shows the key trick: destroy the device on their chest to make them savage and turn them against nearby enemies.
That sounds like an easy win, but it comes with a tradeoff. A controlled Jiralhanae is dangerous with a weapon, while an enraged one attacks mostly by melee. The hits are much more punishing, so you need to keep distance or whittle it down quickly.
When multiple Jiralhanae appear in the room, do not try to control the entire fight by yourself. Take out one device, let the newly enraged brute attack the others, and move around the room instead of standing still. The goal is not to win every shot; it is to make the room work for you.
Move to the second floor as the firefight continues, then push through the next hallways until another room with Jiralhanae opens up. This is another good spot to destroy one device and let them fight each other. It is risky, but it saves ammunition and keeps pressure off you.
Eventually, you return to the open experimentation room, but a new door opens for another fight. Keep the same approach: use the room’s layout, avoid doorways, and let the chaotic brute behavior thin out the enemy numbers.
Final Arena: End the Mission with the Fuel Rod Cannon
The final room is the mission’s big arena-style encounter, with multiple Sangheili standing around. The fastest way to start the ending fight is to melee them down immediately, which prevents them from spreading out and controlling the space.
After that, expect several waves of enemies. Behind the staircases, you will find a variety of weapons, including the Fuel Rod Cannon. Save that for the brutes and Mgalekgolo that appear near the end of the fight, because it makes those heavy enemies far less threatening.
Once the final wave is cleared, Master Chief and Johnson receive a distress call from inside the ship and decide to investigate. That sets up the next step of the bonus mission, but the boarding action itself is complete.
Boarding Action Takeaway for Halo: Campaign Evolved
Boarding Action is successful because it teaches the campaign’s combat language without slowing the pace down. It asks you to manage height, timing, reinforcements, and enemy-specific counters in a space that feels tight but readable.
If you walk away remembering only one thing, remember this: the mission rewards controlled aggression. Move forward, but always know where the turret, doorway, weapon pickup, or next reinforcement is coming from.




Comments (0)
Loading comments…