
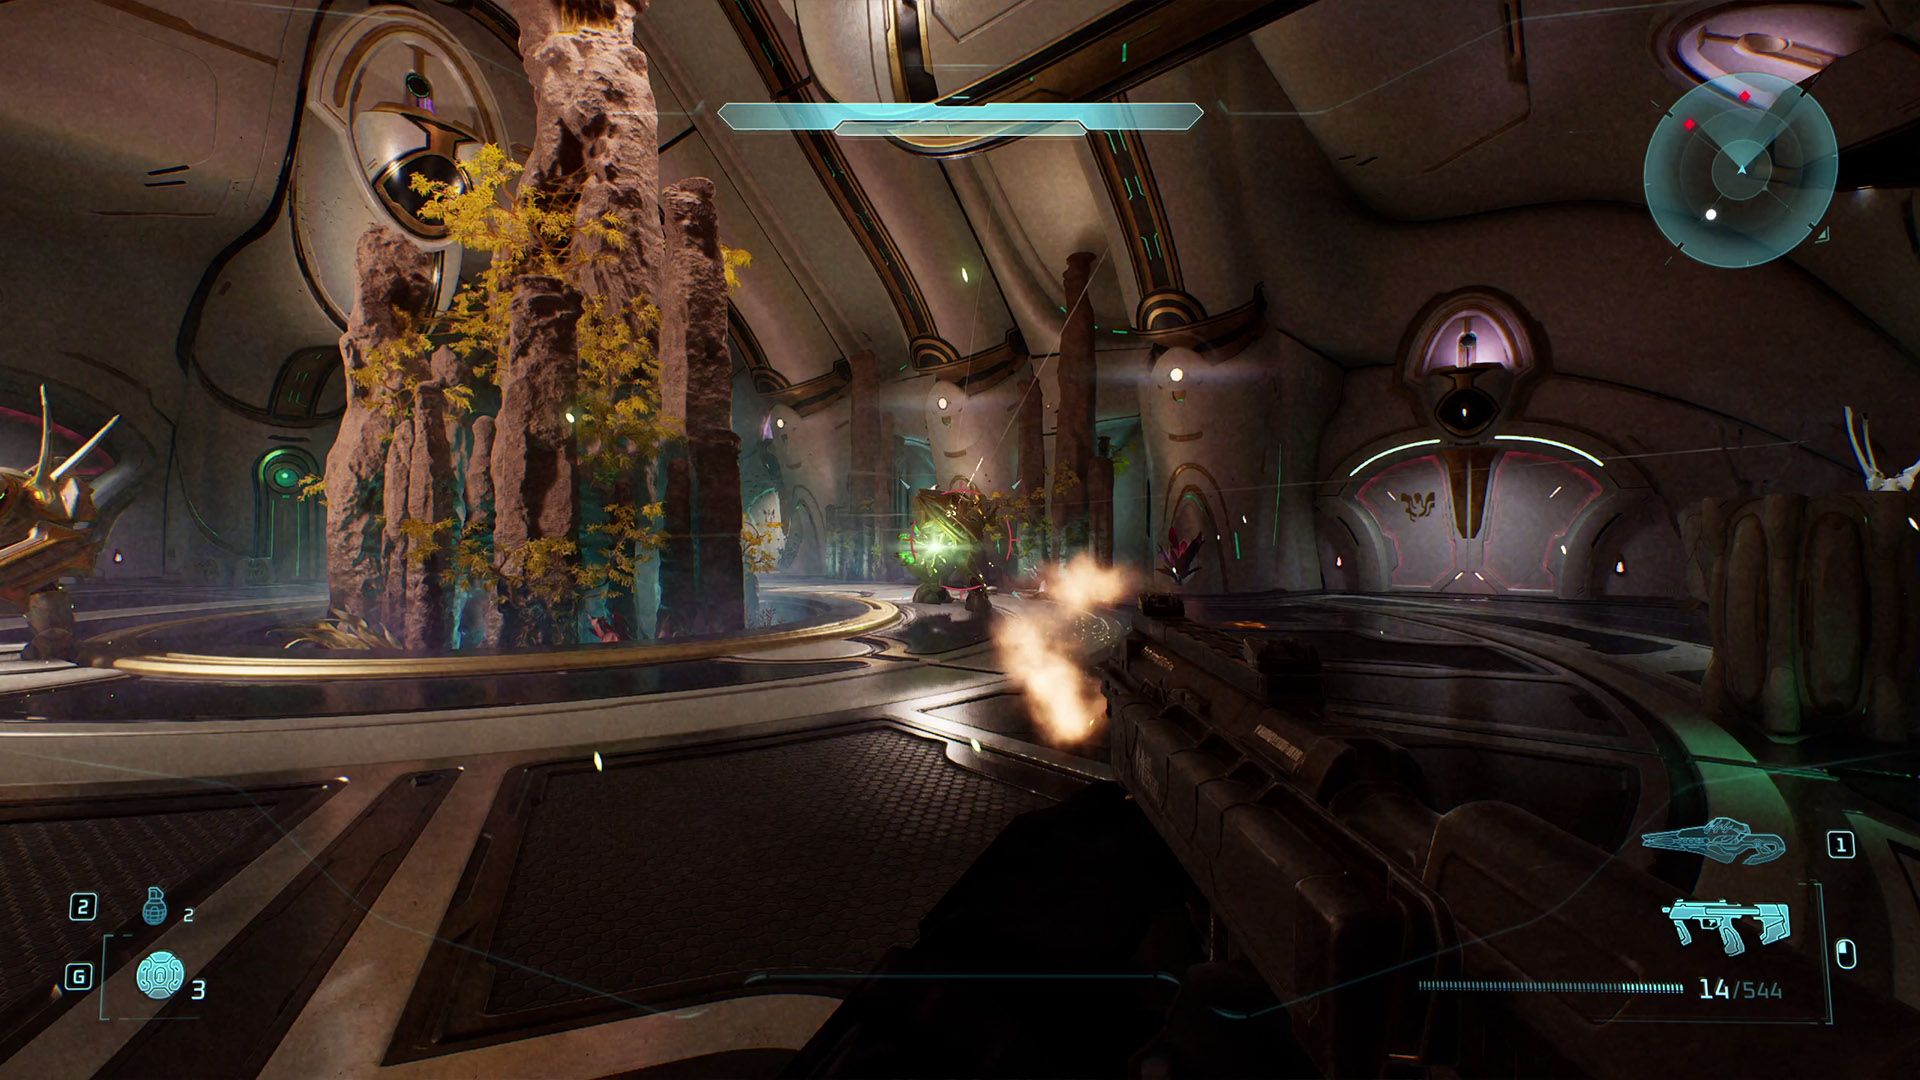
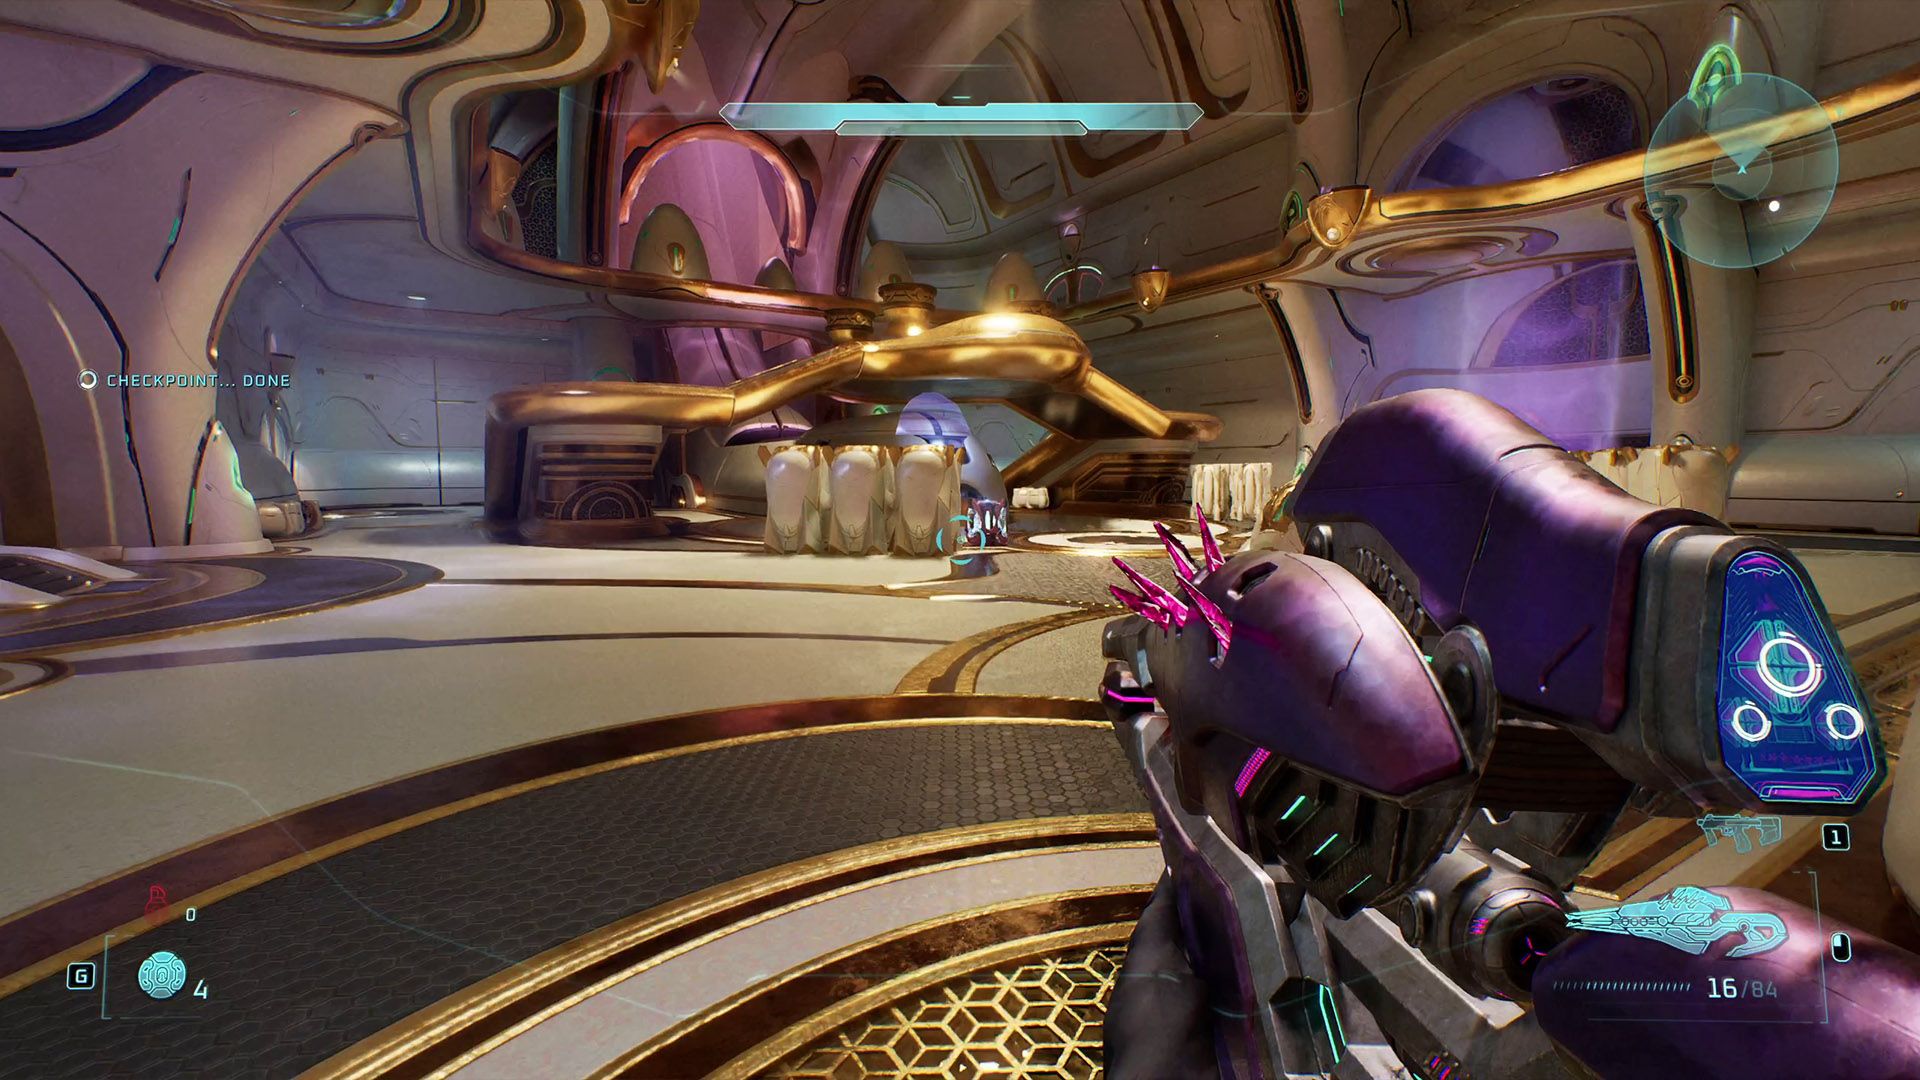
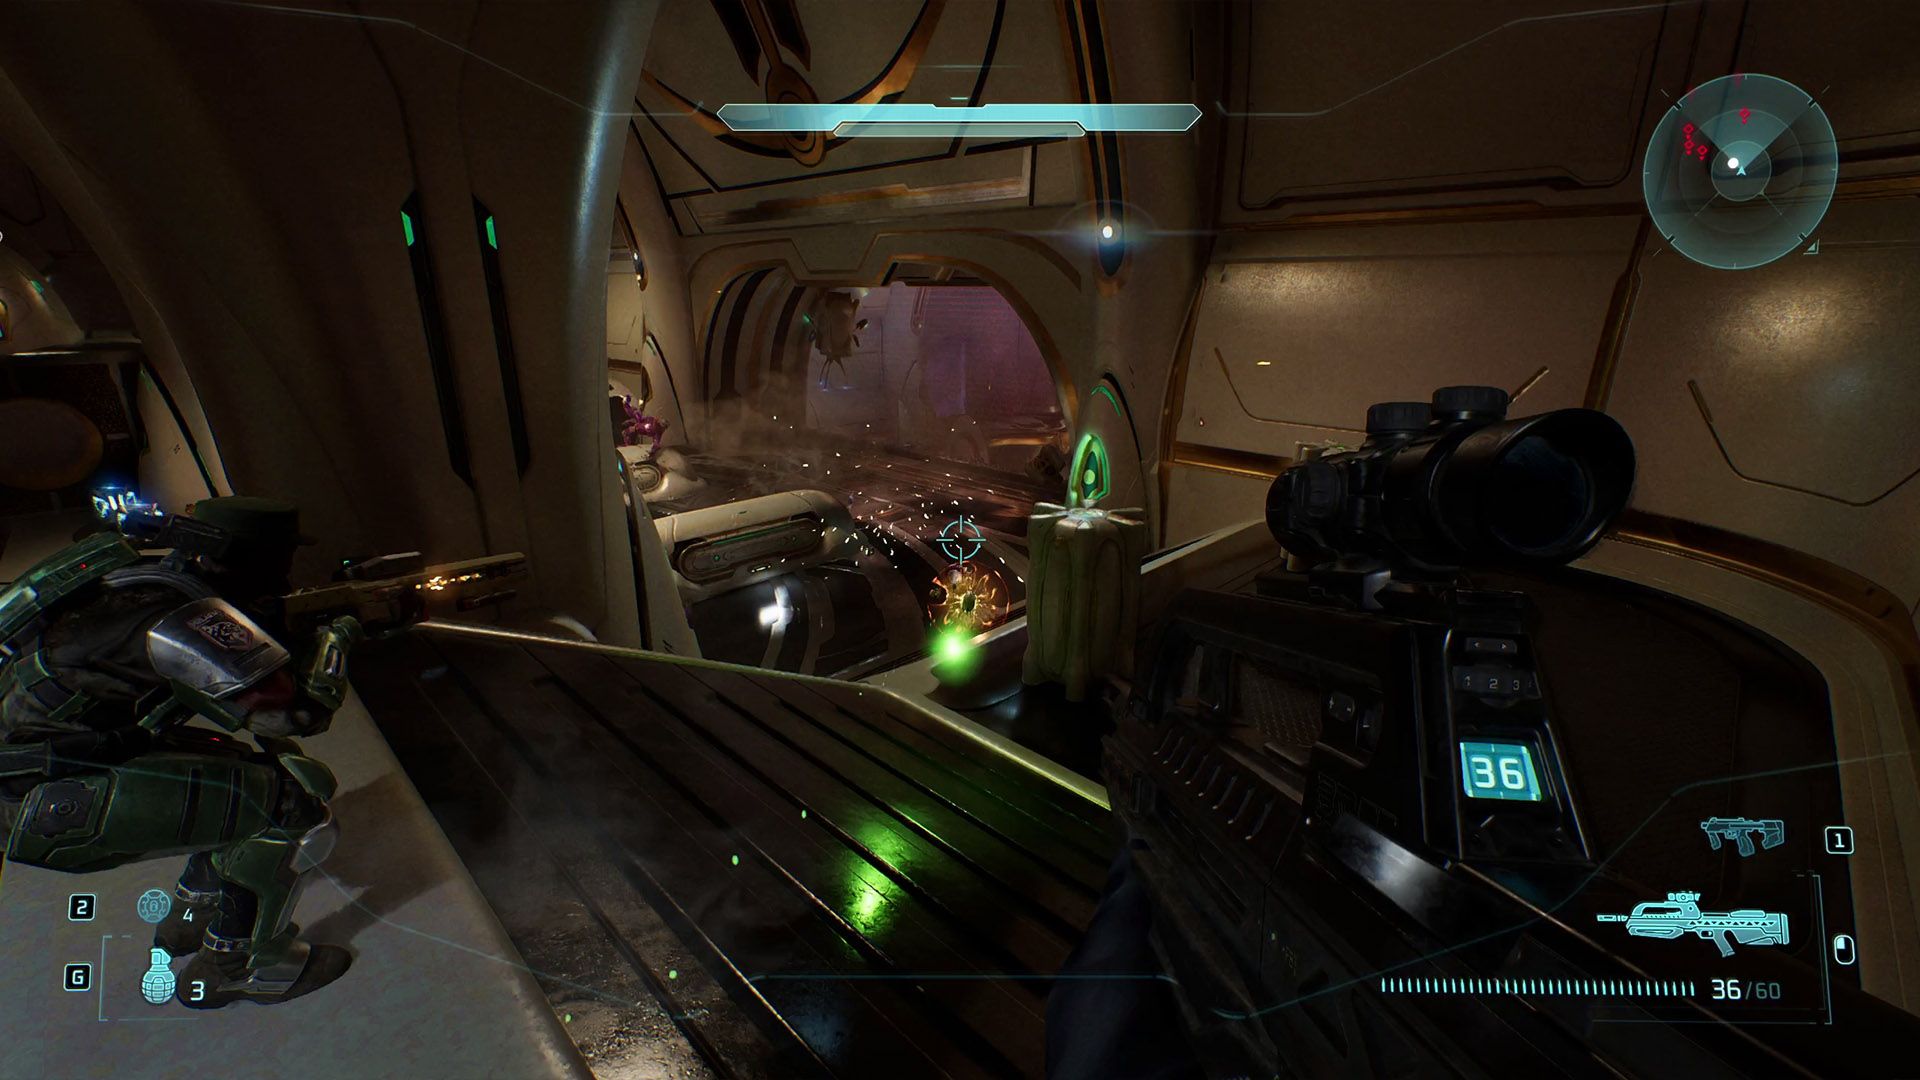
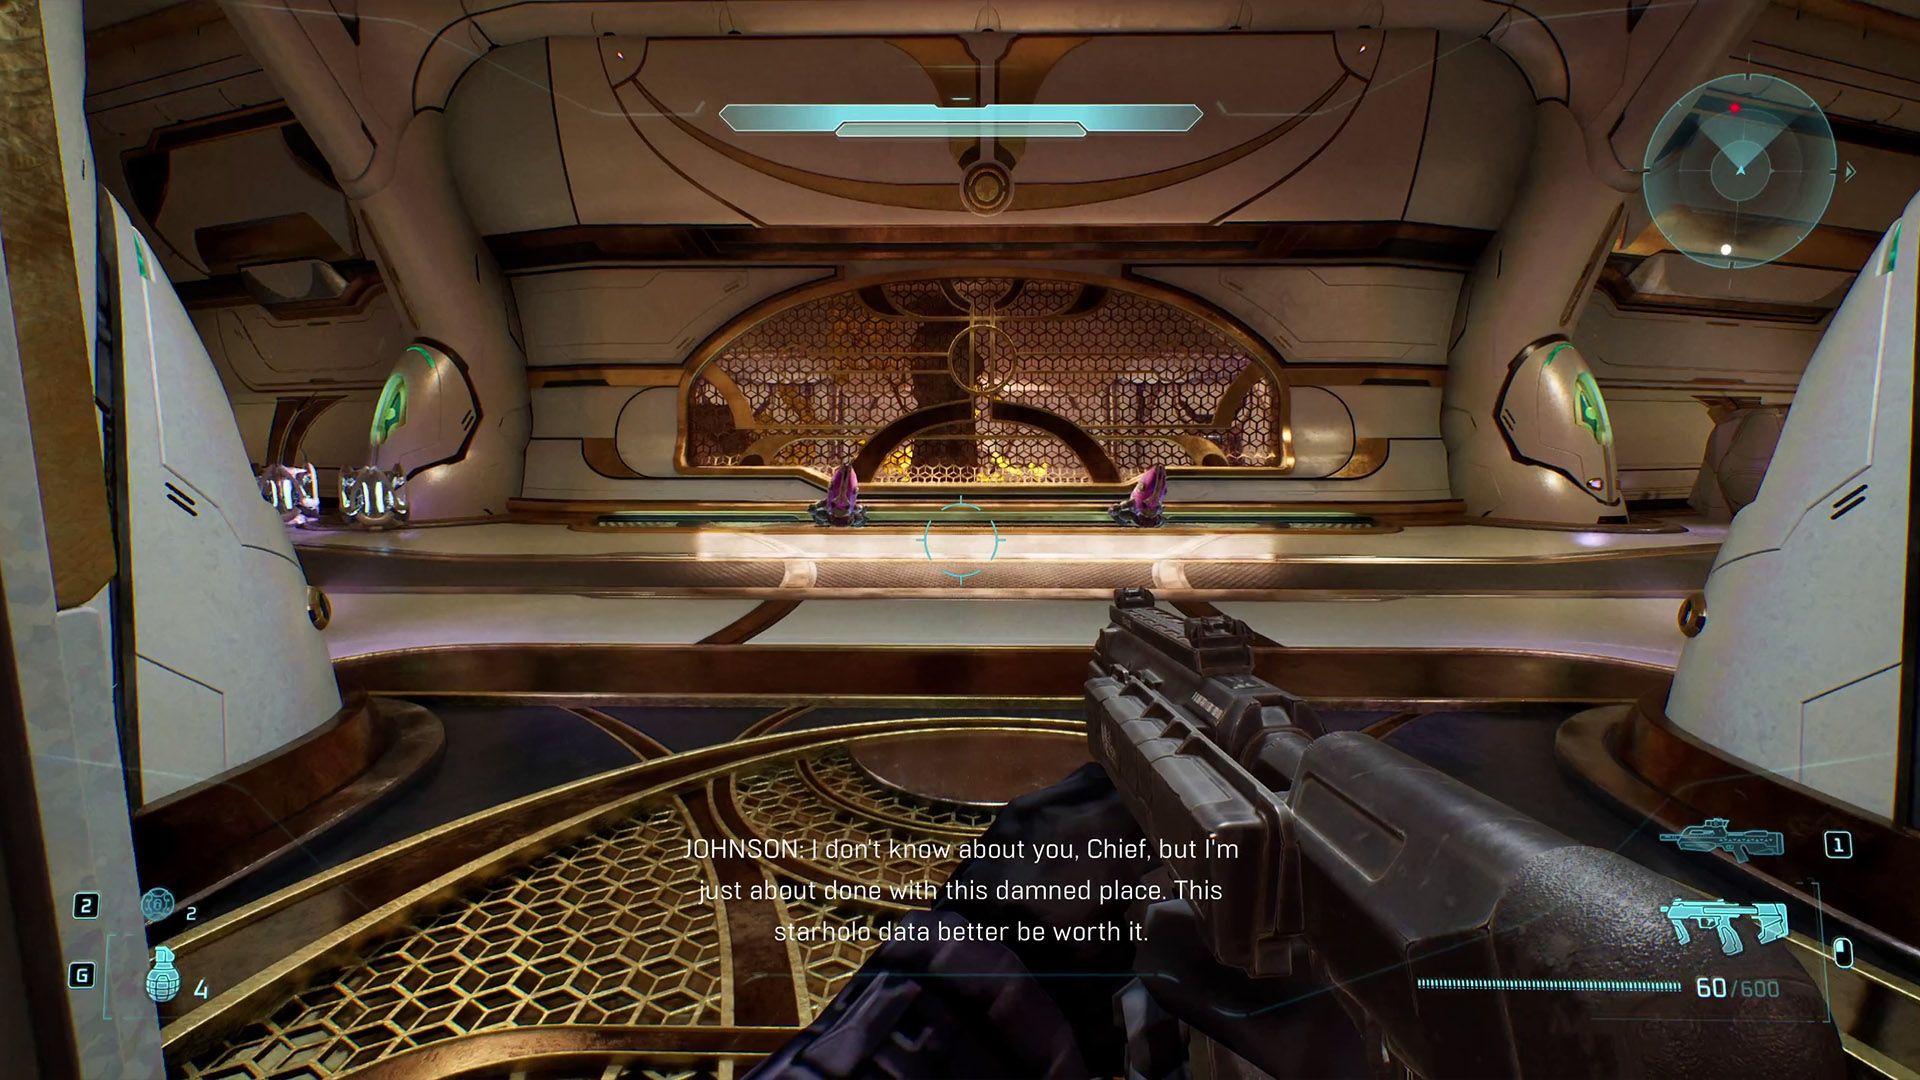
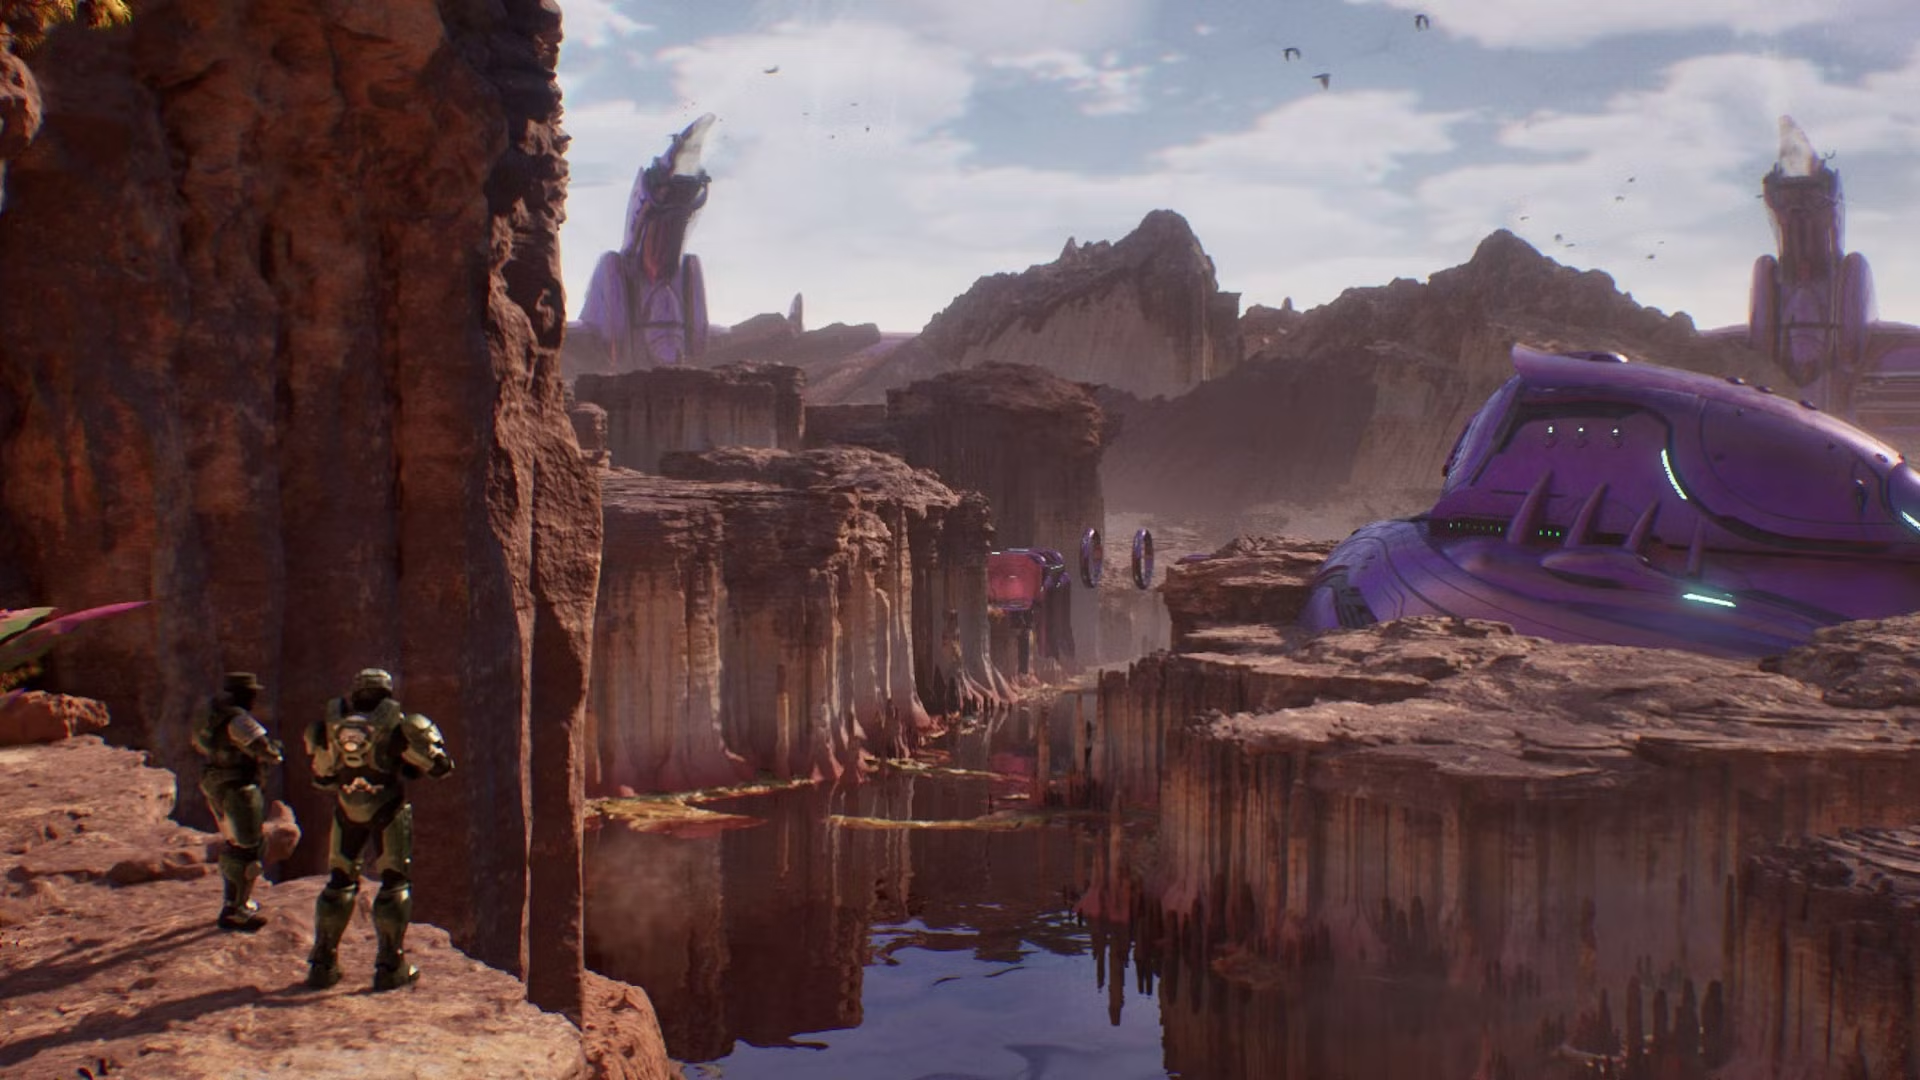
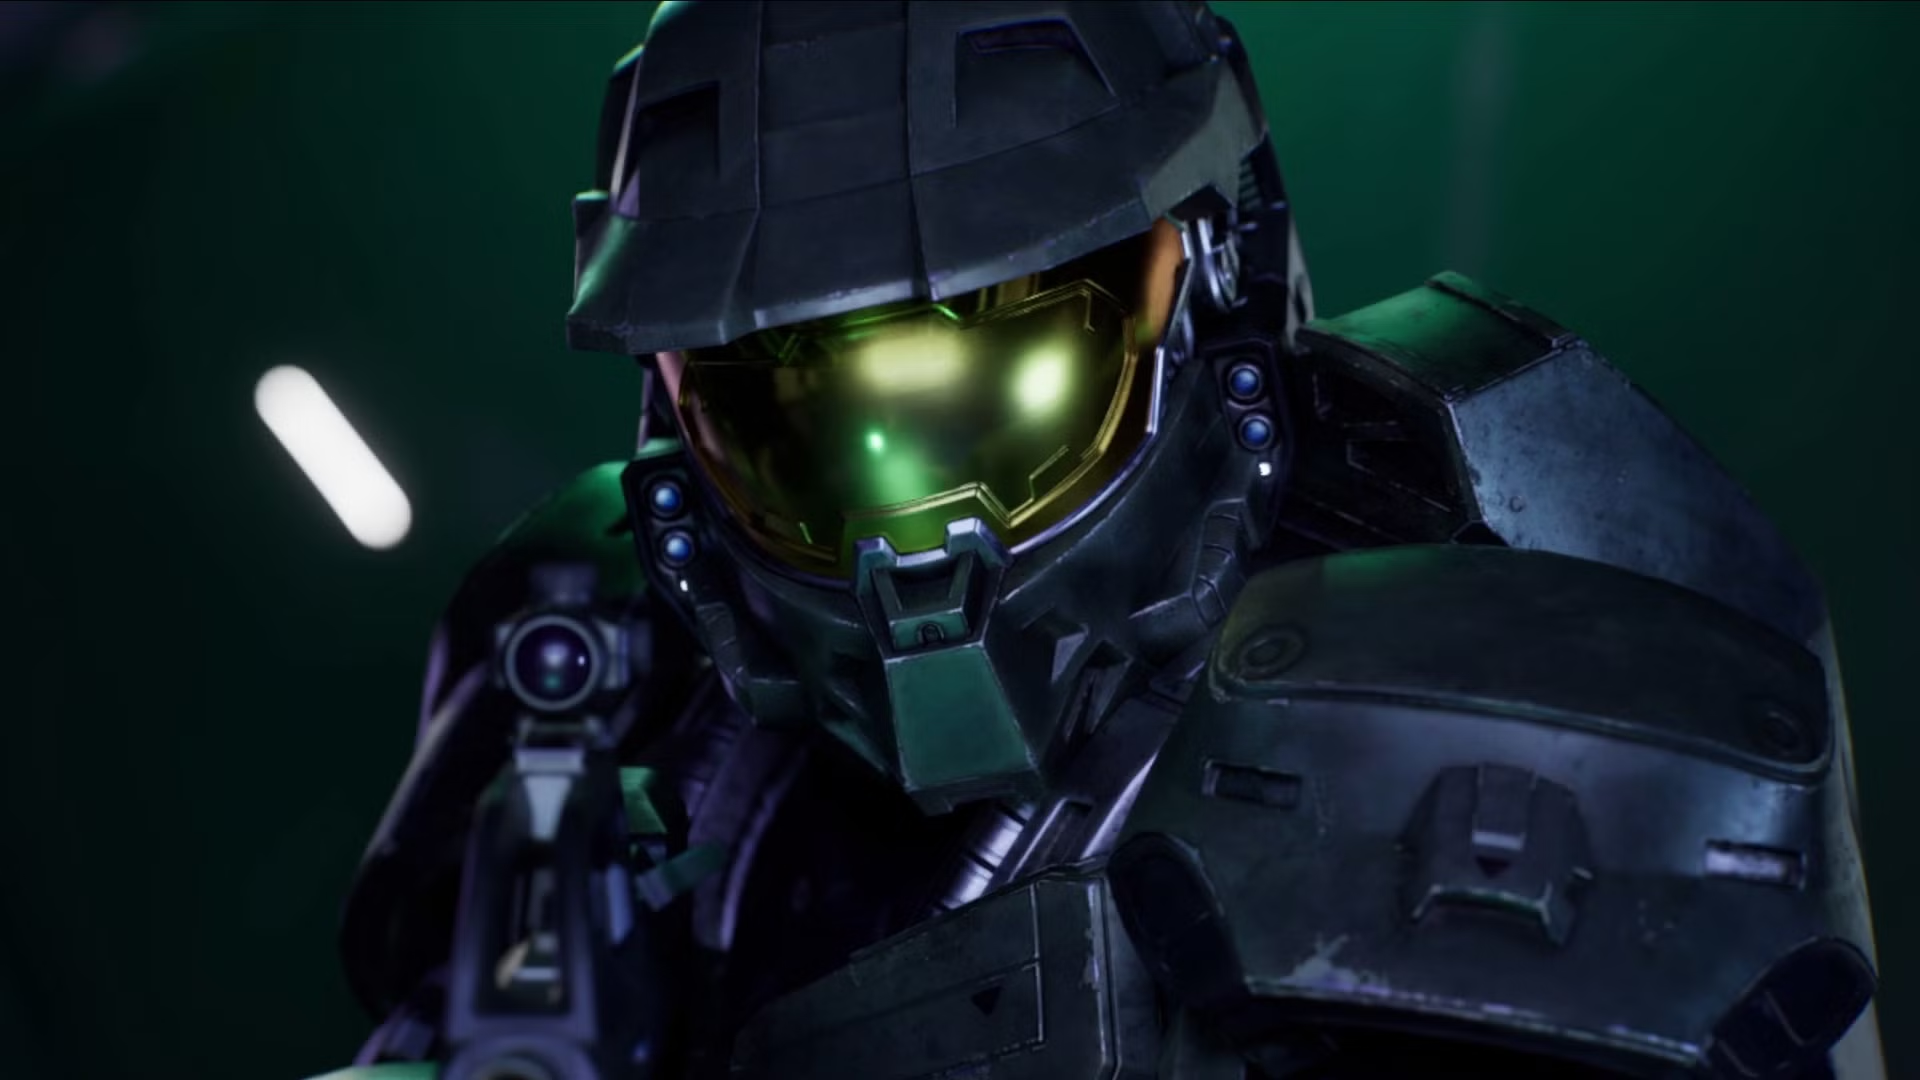
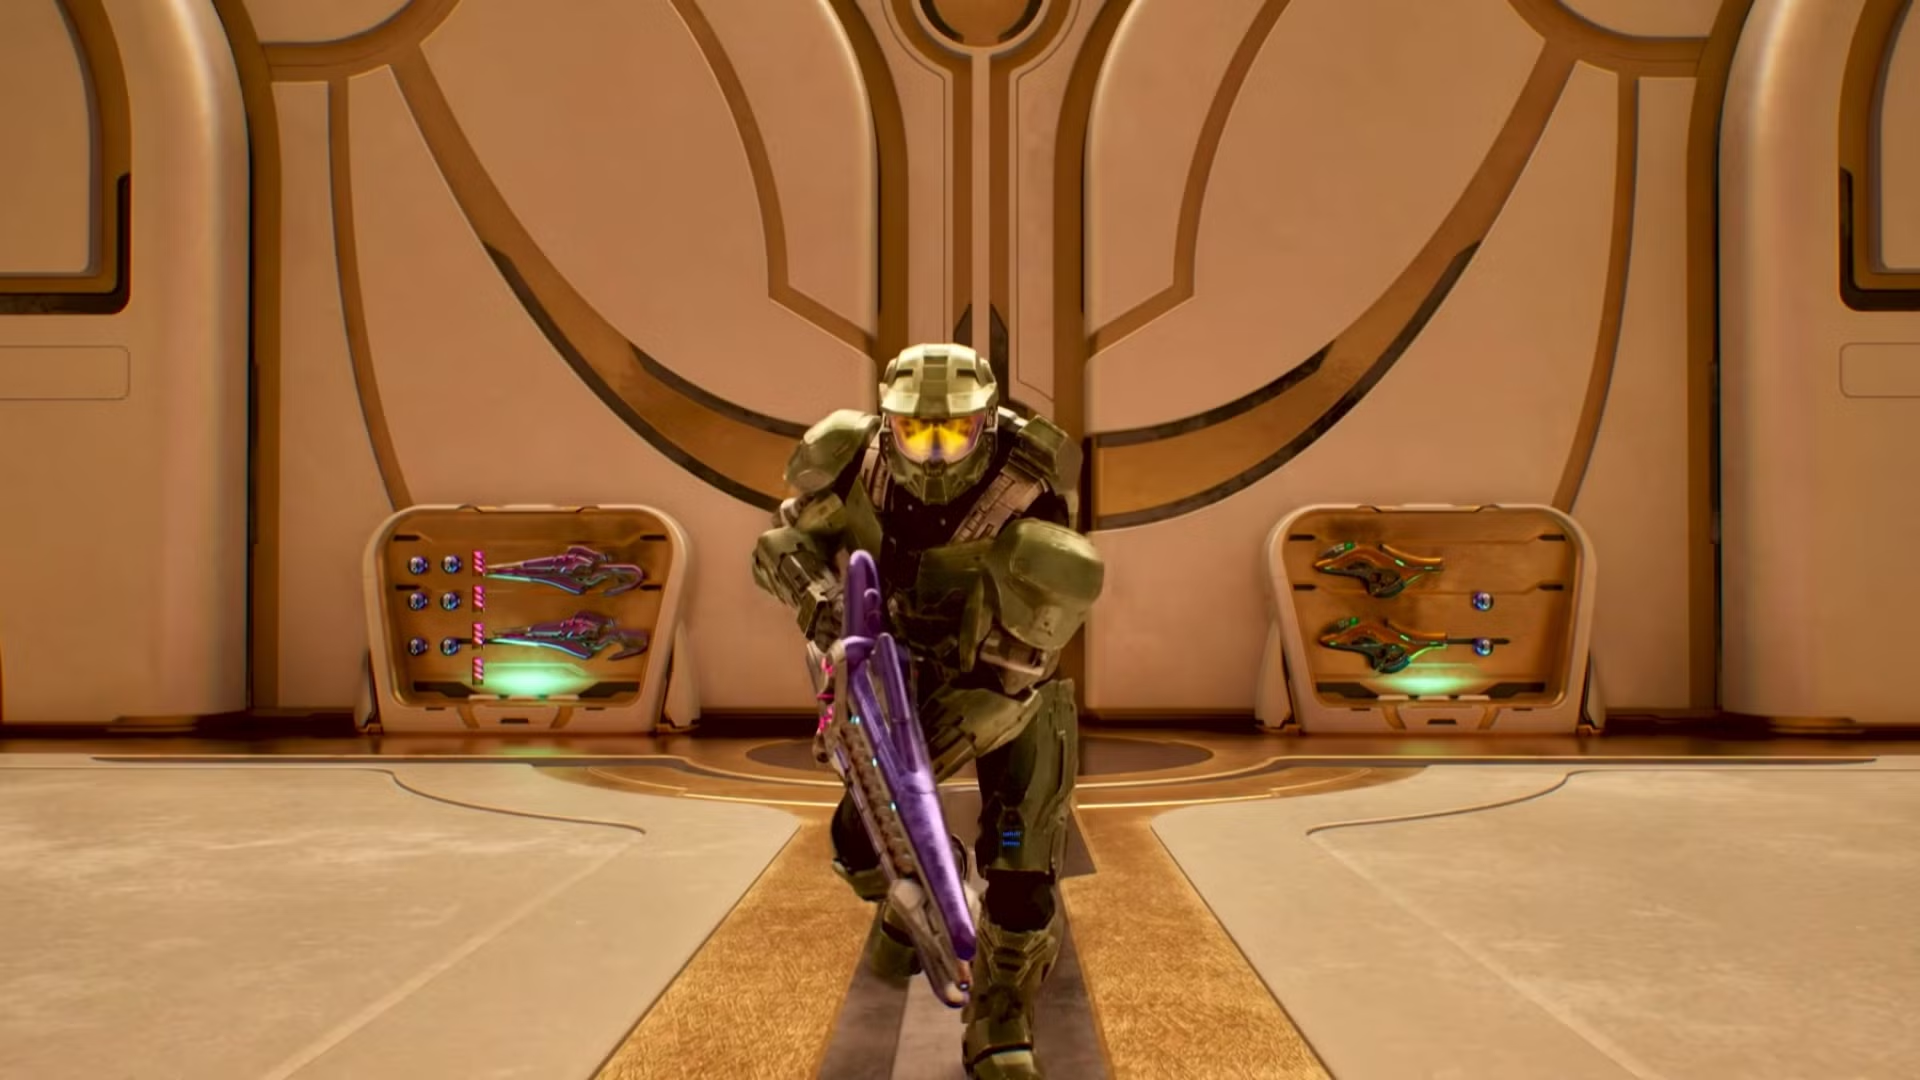
By Adam Beck Published Jul 25, 2026, 3:10 PM EDT A Canadian who has worked in the gaming industry for over two decades, Beck grew up on games such as Final Fantasy and Super Mario Bros. He specalizes in roleplaying games, but covers titles in almost all genres. His dream is to one day be involved in the development of a video game, but until that day comes, he will continue to cover the industry he's so passionate about. Sign in to your Hardcore Gamer account The third and final mission in Halo: Campaign Evolved , this is easily the longest off the three, with a bombastic conclusion. While it reverts back to a more typical corridor shooter for most of it, it features a rather enjoyable space battle, something that resembles Halo: Reach’s Long Night of Solace mission. With it, we are here to guide you through the entirety of the mission, something that will take roughly forty-minutes to complete, with some hidden extras spread throughout. Bonus Missions 1. Boarding Action 2. The Most Dangerous Game 3. Heavy Burden Best Served Cold Close Kicking off the final mission, we are back into a more familiar territory: corridors. Head into the next room, eliminating all the sleeping grunts whenever you see them. The next corridor is a little trickier, with multiple Sangheili and shielded enemies, and a couple of grunts looking to ambush you on the sides. The next major area is straightforward, something a couple of military-issued grenades can handle, but watch out for the suicidal grunts as it’s a small arena. The next room has two transporters, one going up and one down. You should have at least one Sangheili take it to come up to you but just head down afterward. At the end of the hall, be sure to pick up the Brute Plasma Rifle and Needle Rifle as they will be incredibly helpful in the upcoming objectives. The next room will be much larger, with the ability to go up to the second floor if you want to get a leg up on enemies. Focus on the ones with Needle Rifles on the second floor and then the Sangheili that appear. The next major room will be two Mgalekgolo. Be sure to have a couple sticky grenades on hand, otherwise it will constantly rotate around the center of the arena. Best to cut it off on the other side, otherwise it will go on forever. The next room will have a long bridge with multiple enemies along it. If you go through the door in front of you, you’ll be able to overlook them, but this is a bad idea. Not only will Sangheili appear, but there’s literally no cover on the walkway here, ensuring for a quick death. Take the teleporter up in the next room and stock up on weapons and ammunition. You will need it. The next room will be the toughest fight yet as when you enter, you will have the jump on enemies below, but there are multiple Jiralhanae above, an elite on the ground and two Mgalekgolo. Be sure to focus on the elite and little guys first, and as more enemies flood in, work your way up. Save the Mgalekgolo for last as they pose the least threat being on the first floor. Two-Fisted Cyborg Justice There will be a room on the first floor that has multiple Overcharge and Camo powerups. Head back to the transporter and head down. There will be new enemies down below, so quickly dispatch them. You’ll have to backtrack almost the entire way back to the beginning of the level, but instead stop when you get to the area with the second floor. A Jiralhanae will appear and open a new door, leading to one of the largest areas in the mission. This will be a multi-floored firefight, so pick a spot and hold up. The higher the ground, the better your advantage is. After everything is cleared, head down to the first floor and go through the next door and down the transporter. Tunnel Vision It feels like the last chapter was a bit short, but in reality, it was just because there’s a lot of backtracking. This one is a little newer because of it. In the area with the two large Mgalekgolo, you will need to flip two switches on both sides of the ship. You can take everyone down, or you can quickly hop between the two and jump on the ship to avoid everyone. Close This is essentially an on-rails scenario where you will be moving through five different sections, and on each side of you will be various enemies. The first section is straightforward with enemies simply firing upon you and some jumping aboard if you’re not quick enough. The second is a little more difficult because you not only have to take care of the enemies on the side, but there will be a bridge connecting the two sides that will have gr that will jump down onto the ship if you don’t take them down quickly enough. Close The next section requires you to get off the ship and restart the power. As you can imagine, while the system is rebooting, there will be waves of enemies that will appear to take you out. This can be dangerous given that the visibility is low due to no lighting and there will be cloaked enemies. Try to stick to the second floor and in an open area with a little bit of cover. The next area you will move through is virtually the same as the second, but instead of grunts over the walkway, there will be Jiralhanae, so eliminate them quickly before anything else. Last but not least, the final area will be closer to the first, but with more Sangheili trying to jump aboard. After docking, head to the right to enter a large hanger. Be very cautious about the large Wraith in the back. There should be a Fuel Rod Cannon nearby. Pick it up and poke your head around the corner to strike the Wraith. Afterward, rush to the next area to find Lieutenant Williams and her team… perfectly fine and on a pile of Covenant corpses. A nice little misdirection. Sword and Sorrow Close The final chapter in the Bonus Missions, Sword and Sorrow, has Master Chief and Avery Johnson take to space in some Covenant vehicles in hopes of bringing down the main ship’s shields to help destroy it. The first objective is an introduction, having around five Banshees that need destroying. Use your plasma weaponry or lock up with the missiles. Next, you will need to destroy turrets on the ship which will reveal a comm to destroy. You will need to do this three times to move on. Head into the debris field and Williams will send out dropships with their wounded. You will need to protect them from any enemies buzzing about. You can’t do much about gunfire from the main ship, but the small vehicles you will need to destroy. There will be a couple of waves of this. Next, the Burden of Proof will come out of Slipstream and be ready to deal massive damage to the Covenant ship. Unfortunately, it’s still protected by a shield. While Williams and her team are looking to bring down the shields, you will need to protect the Burden of Proof from suicidal ships. They will be throwing themselves at the ship. It’s a simple objective, as there will only be a max of three threats at a time, meaning you can gun down one of them while shooting missiles at the others. After a few rounds of this, Lieutenant Williams takes down the shield, and the Burden of Proof is ready to shoot. And that is the entire Bonus Mission. Lieutenant Williams and her team made the ultimate sacrifice to get the intel out safely, and while they were unable to take down the Prophet, they took down one extra Covenant ship. 4.0 /5 Halo: Campaign Evolved Like Follow Followed FPS Science Fiction Shooter Multiplayer Systems Released July 28, 2026 Developer(s) Halo Studios Publisher(s) Microsoft Studios Multiplayer Online Co-Op, Local Co-Op Cross-Platform Play Yes - all platforms Cross Save Yes - all platforms Franchise Halo 5 Images Close Genre(s) FPS , Science Fiction, Shooter, Multiplayer Powered by Expand Collapse Close

As an Amazon Associate we earn from qualifying purchases. Some links on this page are affiliate
links — if you click through and make a purchase, we may earn a commission at no extra cost to
you.


Comments (0)
Loading comments…