
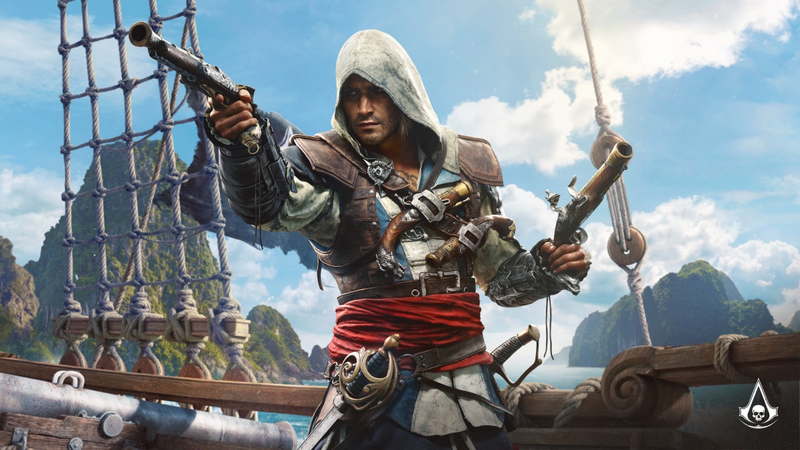
Why Blackbeard’s Treasure Is Worth The Swim

There’s a certain satisfaction in cracking open a treasure chest that’s been tucked behind two breakable walls and a gauntlet of sharks, and that’s exactly what Assassin’s Creed Black Flag Resynced delivers with Blackbeard’s Treasure. The route to it isn't obvious, and the game doesn't hold your hand. But once you know where to look, it’s a straightforward, if slightly soggy, adventure.
The treasure hunt only becomes available after you’ve finished Sequence 8: Do Not Go Gently. Once that mission is in the rearview, Blackbeard’s Treasure Map appears in your inventory, pointing you toward Anotto Bay in the Charlotte region, just north of Kingston. The exact coordinates land around 590,244 to 591,243 if you’re the type who likes to cross-reference with a map.

If you’ve already sailed to Anotto Bay before, you can fast travel there and save some time. If this is your first visit, expect hostile ships patrolling the waters. You’ll need to handle a short naval skirmish before you can safely head inland. It’s not a full fleet battle, but don’t sail in with a half-destroyed ship and expect a warm welcome.
How To Enter Anotto Bay

Here’s the part that trips most people up: the entrance to Anotto Bay is underwater. You need to swim toward the wrecked area near the bay and look for jellyfish hovering around the submerged tunnel entrance. Those glowing jellyfish are your biggest clue that you’re in the right spot.
Once you dive in, keep swimming through the tunnel while keeping an eye out for sharks. The path splits at one point, and the correct route is on the right. If you take the left path, you’ll find a side chest with some loot, but it’s not the main treasure route. Stick to the right and continue until you reach a ladder leading up to a dry section of the cave.

A quick tip: the underwater section is much easier to navigate during the day because visibility is significantly better. It makes spotting the jellyfish, air pockets, and tunnel turns far less stressful. Also, don’t rush past the sharks and enemies. Getting hit while carrying an explosive barrel can slow you down, and nobody wants to redo a swim because they got chomped.
What To Do Inside The Cave
After you surface, you’ll find yourself inside a smuggler’s den with enemies roaming around. Clear them out first so you can move safely without getting stabbed while carrying fragile explosives.
In the first main chamber, you need to pick up a red explosive barrel and place it near the blocked wall. Then shoot it from a safe distance to break the wall open. This opens the next section of the cave, which follows a fairly direct path. Keep moving forward, defeat any enemies you find, and continue until you reach a waterfall area.
There’ll be another explosive barrel nearby. Carry it up the ledge behind the waterfall, place it by the blocked wall, and shoot it again. That second explosion reveals the final room containing Blackbeard’s Treasure Chest.

How To Claim The Treasure
Once the wall is destroyed, enter the final room and interact with the treasure chest. The game will trigger the next part of the quest after that, so make sure you are ready to continue with whatever comes next. You may also find a locked chest in the area, but that requires a key from a specific NPC and can’t always be opened during the quest itself.
After grabbing the treasure, head back to Great Inagua to complete the quest. That’s where the final reward is tied off: Blackbeard’s portrait. Don’t skip that last step, because that’s where the real payoff lives.



Comments (0)
Loading comments…