
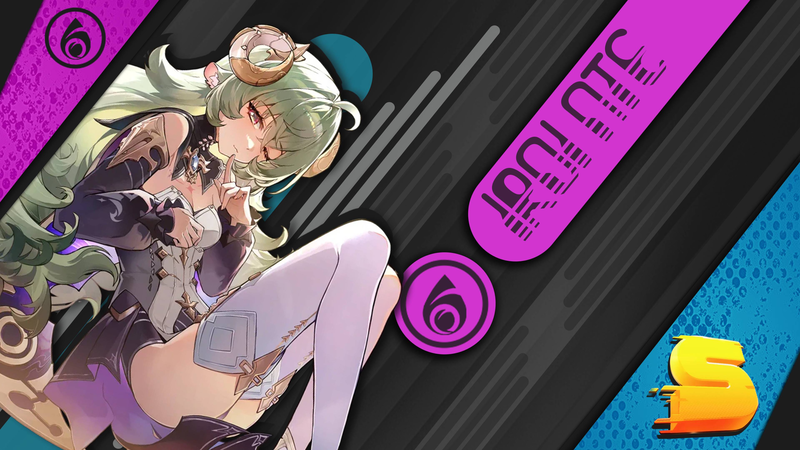
Iroi is one of those support characters who quietly carries your entire team if you build her right. In NTE, she functions as an Anima healer who also brings damage buffs, revives, and consistent energy generation — but only if her stats align with what her kit actually wants. The difference between a functional Iroi and a game-changing one comes down to two pieces of gear: her signature Arc, The Wrong Gate, and the Speedy Hedgehog Cartridge set. Everything else flows from there.
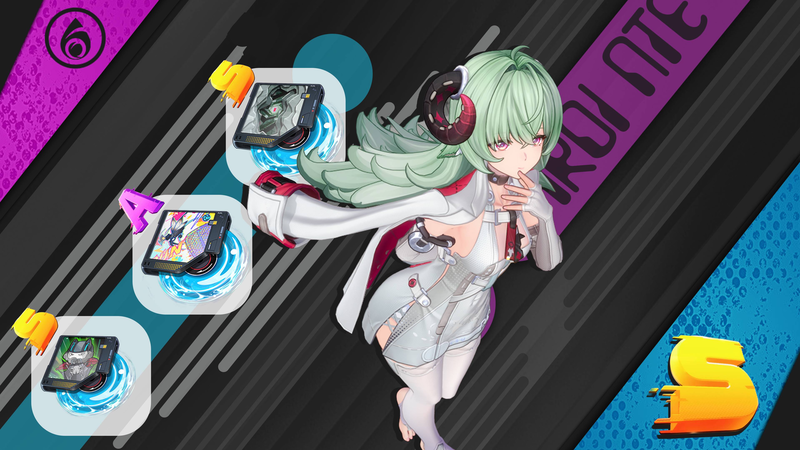
The Wrong Gate: Non-Negotiable for Peak Performance
If you have Iroi's signature Arc, The Wrong Gate, equip it. Full stop. This Arc provides 570 Base ATK with a 30% ATK substat, but the real value sits in its passive: whenever Iroi heals, she gains 30% Anima DMG for 20 seconds while allies receive a 15% DMG boost. Since her entire kit revolves around healing — her Skill, her Ultimate, even her passive triggers — this buff maintains near-constant uptime in combat.
The 30% ATK substat matters more than raw Healing Bonus because it scales both her damage output and her healing numbers simultaneously. Most support Arcs force you to choose between personal DPS and team utility; The Wrong Gate refuses that trade-off. If you're building Iroi for the first time, this is the single most impactful gear decision you'll make.
Mind Royale: The Energy Alternative
Not everyone has The Wrong Gate, and that's where Mind Royale enters the conversation. At T5, this Arc grants 18 Ultimate Energy whenever Iroi casts her Redirect Skill, on a 20-second cooldown. The 555 Base ATK and 60 Break Intensity substat don't directly synergize with her kit — she doesn't rely on Break damage — but the energy generation lets her cycle Ultimates faster, which means more healing, more revives, and more uptime on The Wrong Gate's buff if you're running it as a secondary option.
The game itself suggests Call of the Twisted City as the runner-up, but that Arc leans into healing power Iroi already has in spades. Mind Royale solves a different problem: energy hunger. In longer fights where Ultimate uptime determines whether your team survives the enrage phase, that extra cast every rotation adds up.
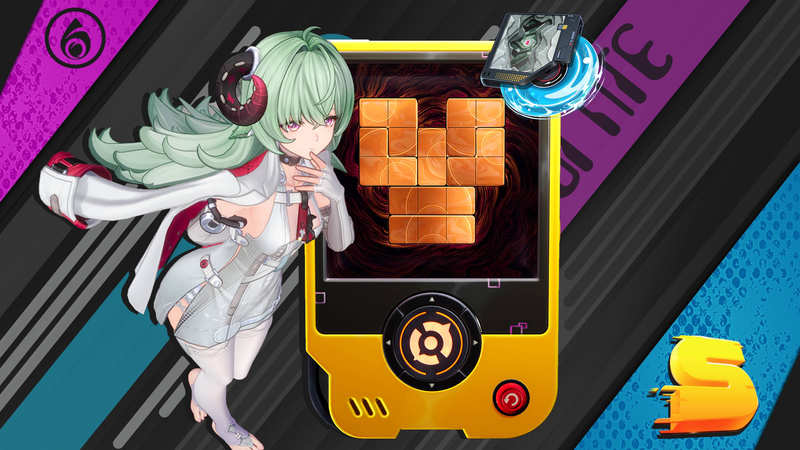
Fluff of Fleetness: When You Want a DPS Hybrid
Fluff of Fleetness exists for players who want Iroi to contribute meaningful personal damage while still healing. Its passive stacks 5% ATK every second she remains on-field, capping at five stacks, with a 44% Crit DMG substat. The catch? The moment she swaps out, the stacks vanish. This forces a playstyle where Iroi stays active longer — viable in content where you rotate supports less frequently, but awkward in standard quick-swap team compositions.
If you commit to Fluff of Fleetness, your stat priorities shift entirely. Drop Healing Bonus. Prioritize Crit Rate, Crit DMG, ATK%, then Anima DMG%. You're building a bruiser-healer hybrid, and the gear needs to reflect that. Most players will get more team value from The Wrong Gate or Mind Royale, but the option exists for niche team comps.
Speedy Hedgehog: The Cartridge Set That Completes the Package
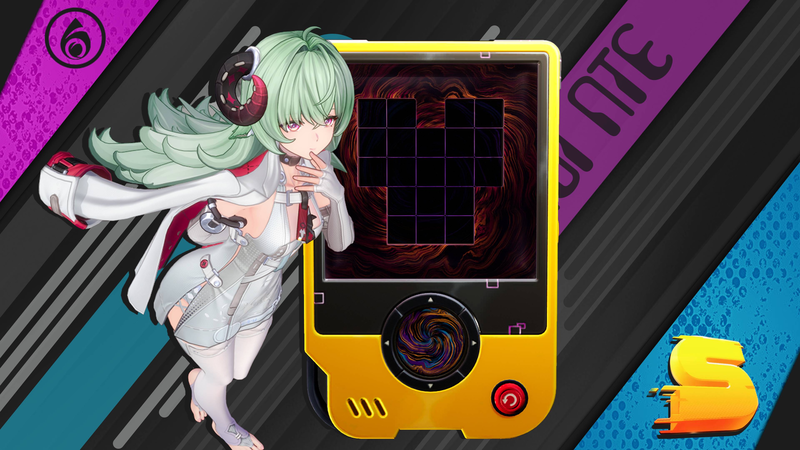
The Speedy Hedgehog set is Iroi's best-in-slot Cartridge for a reason. The two-piece bonus grants 12% Charge Efficiency — directly translating to faster Ultimate casts. The four-piece is where the magic happens: after Iroi uses her Ultimate, the entire team gains 15% ATK for 20 seconds. This doesn't stack with itself, but it doesn't need to; combined with her Skill's 20% ATK buff, The Wrong Gate's 15% DMG buff, and her second passive's 5% DEF ignore, Iroi becomes a universal damage amplifier regardless of team composition.
Four pieces of Speedy Hedgehog require four Type III Modules, each providing 10% ATK. That's 40% ATK from the set requirement alone. With two additional Module slots available, you can push that to 60% total ATK from Modules — a massive stat stick that feeds both her healing and damage scaling.
Stat Priority: Main and Substats
For the standard support build (Wrong Gate + Speedy Hedgehog), your Cartridge main stats should target ATK% on the slot that allows it, Healing Bonus where available, and Anima DMG% on the remaining piece. Substats follow a clear hierarchy: ATK% and DMG% (Anima or Universal) take priority. Crit stats only matter if you're running Fluff of Fleetness.
Charge Efficiency appears on the two-piece bonus, so you don't need to chase it on substats unless your energy generation feels sluggish in practice. Healing Bonus on substats is a trap — the ATK% from The Wrong Gate and Modules already scales your healing efficiently, and DMG% provides more team value.
Skill Priority and Awakening Order
Iroi's damage and utility flow through her Ultimate first, Skill second, Basic Attack last. Level her Ultimate to max before touching anything else — it's her biggest heal, her revive, and the trigger for Speedy Hedgehog's team ATK buff. Skill comes next for the 20% ATK buff and energy generation (especially with Mind Royale). Basic Attack remains a filler.
For Awakenings, the recommended order is A5 → A2 → A1 → A4 → A6 → A3. A5 and A2 provide the most significant power spikes for her support capabilities. A1 and A4 add quality-of-life improvements to her rotation. A6 and A3 are nice-to-have but not build-defining.
F2P and Budget Considerations
If you're not pulling on the signature Arc banner, Mind Royale is farmable through standard progression and performs admirably at T5. For Cartridges, the Speedy Hedgehog set drops from regular content — no limited-time events or premium currency required. The Type III Modules needed for the full set bonus are similarly accessible.
A functional F2P Iroi runs Mind Royale (T5) + Speedy Hedgehog (4-piece) with ATK%-heavy Modules. You lose The Wrong Gate's 15% team DMG buff and 30% personal Anima DMG, but you retain the energy generation, the team ATK buff from Speedy Hedgehog, and Iroi's base kit. She remains a top-tier support even without her signature gear.
Why This Build Works: The Multiplier Effect
What makes this build special isn't any single buff — it's how they multiply each other. The Wrong Gate gives 15% team DMG. Speedy Hedgehog gives 15% team ATK. Her Skill gives 20% team ATK. Her passive adds 5% DEF ignore. These are distinct multiplier categories (DMG%, ATK%, DEF ignore) that stack multiplicatively rather than additively. A team dealing 100k DPS baseline doesn't gain 55% more damage; they gain significantly more because each buff amplifies the others.
This is why Iroi fits into virtually any Anima team and most non-Anima teams too. She doesn't need specific teammates to function. She just needs the right gear to turn her healing into a damage engine.
Final Thoughts
Building Iroi correctly transforms her from "the healer you use because you need a healer" into "the support slot that makes every DPS character in your roster perform better." The Wrong Gate and Speedy Hedgehog are the anchors. Everything else — Mind Royale as a bridge, Fluff of Fleetness for niche cases, Module optimization, stat priority — serves those two pieces. If you're investing resources into Iroi, start there. The rest falls into place.


Comments (0)
Loading comments…